Illustration & Layout Design


Employer: Manchester Craftsmen’s Guild
Website: https://www.mcgyouth.org/
At Manchester Craftsmen’s Guild I used my digital arts expertise to develop project-based lessons for students in an after school setting. In addition to serving as mentor and teacher to students across the Pittsburgh area, I also leveraged my design and illustration skills to create worksheets, templates, and creative class exercises to support students in their journey of self discovery and future-ready growth. Below you can find a collection of some of the worksheets and handouts I created during this time.
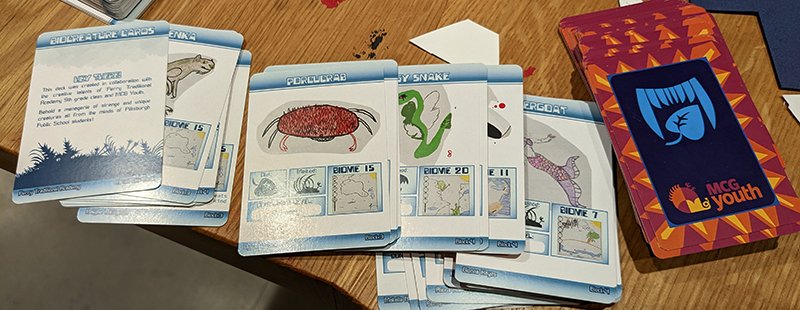
Lesson: “Biology TCG”
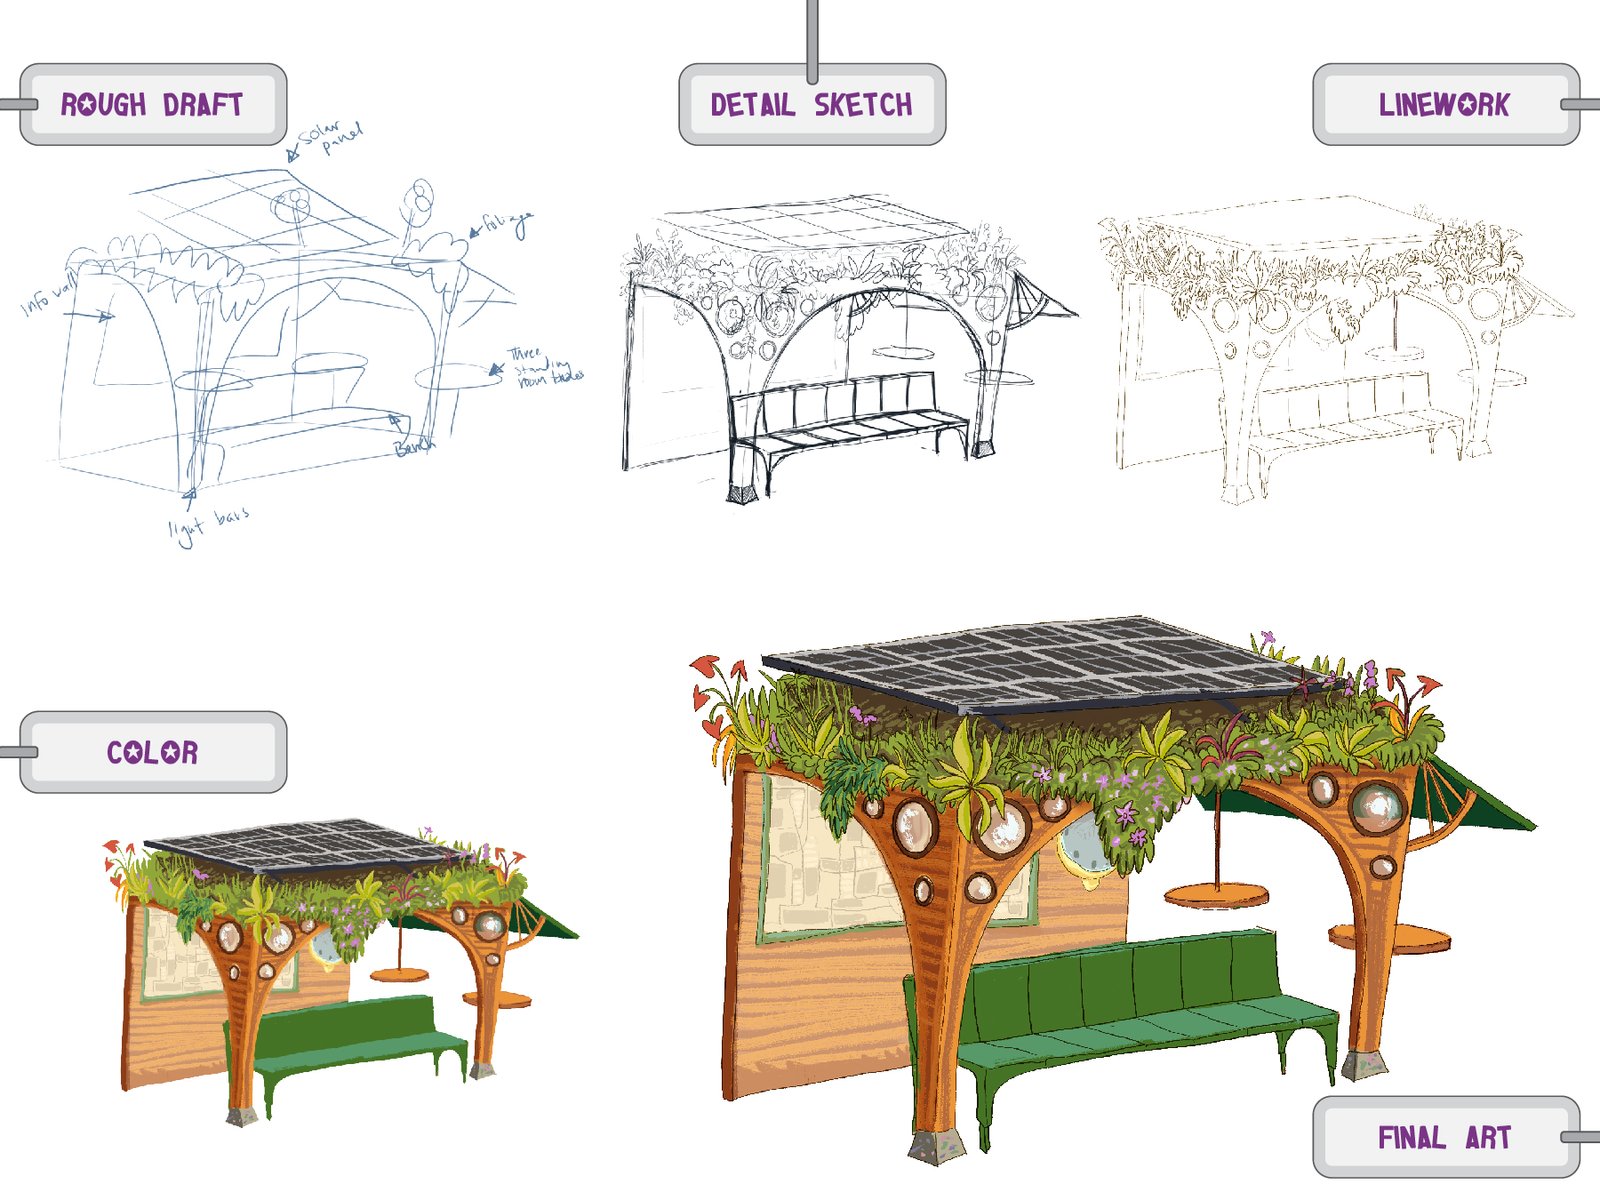
Lesson: “Build a Better Bus Stop”
Lesson: “Creature Walk Cycle”


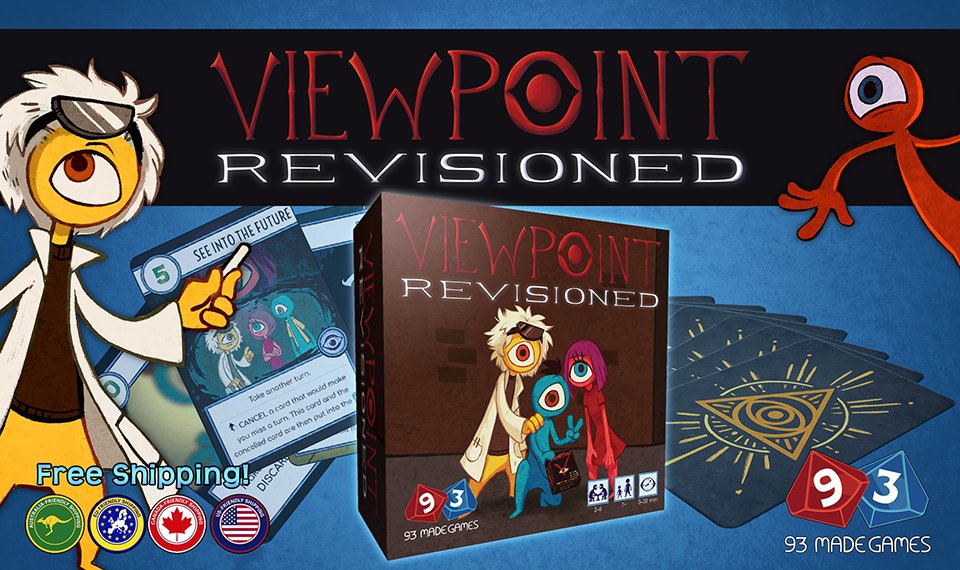
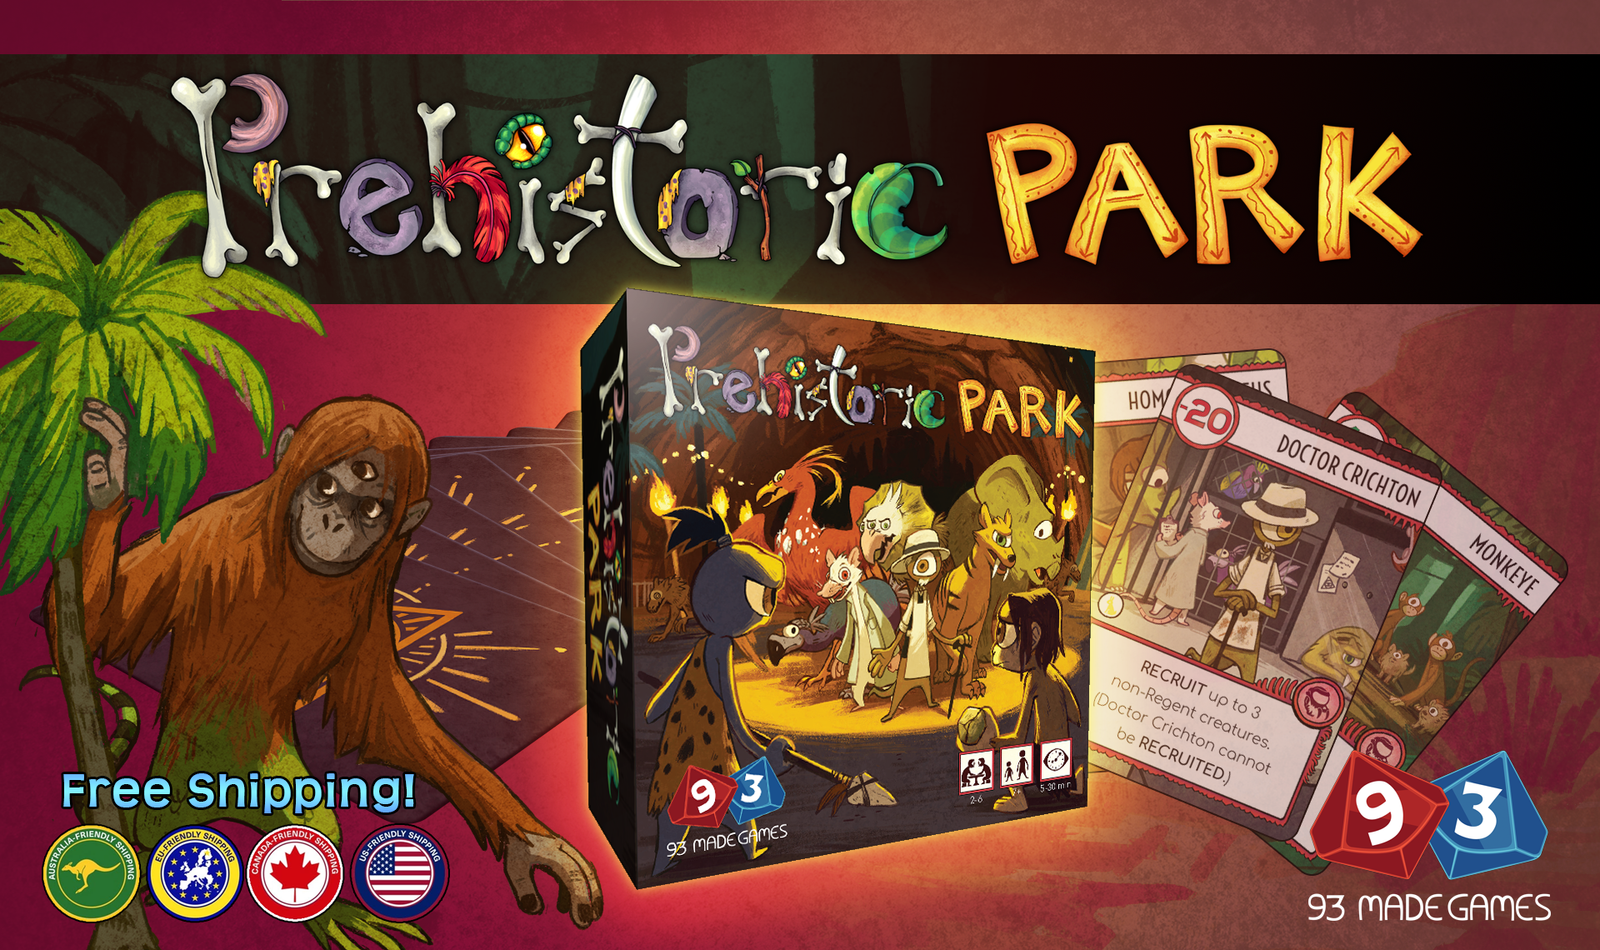
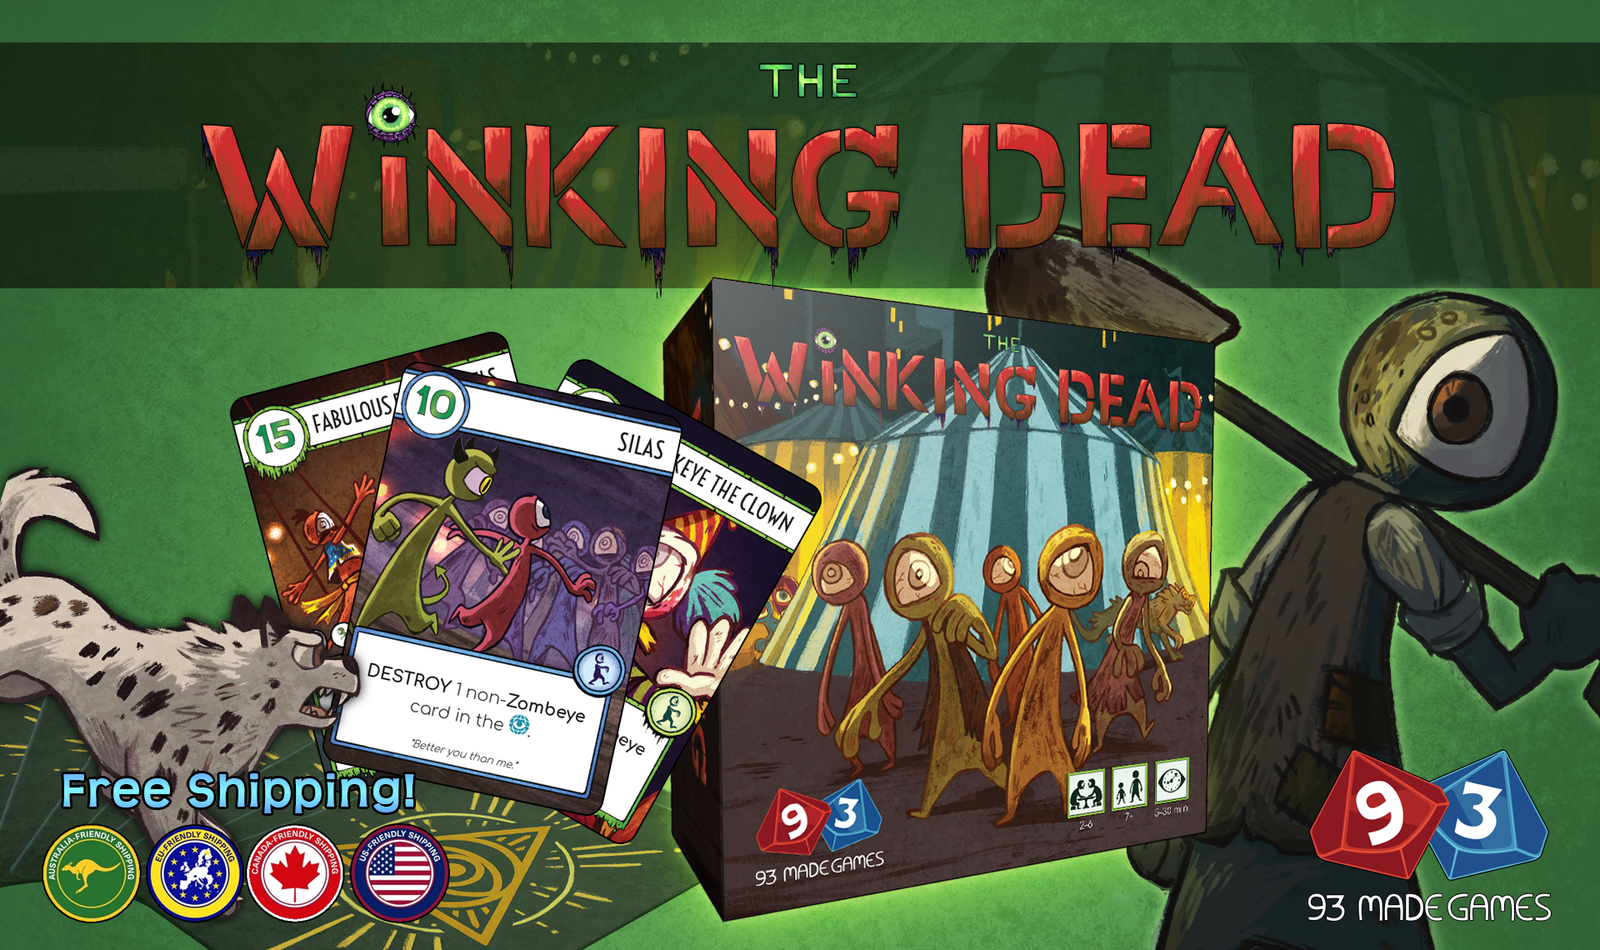
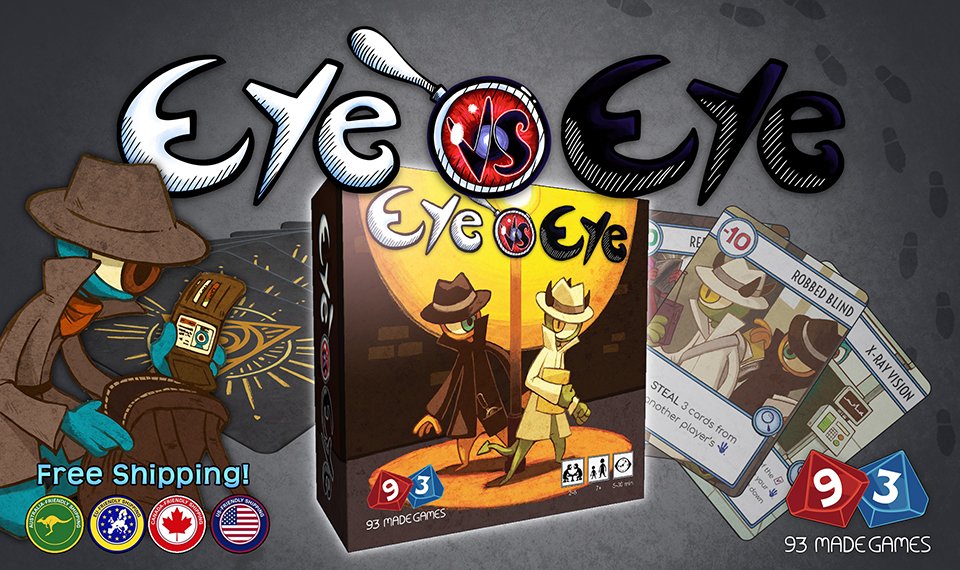
Client: 93 Made Games
Website: www.viewniverse.fun
Viewpoint is a series of card games developed by Australian-based 93 Made games.
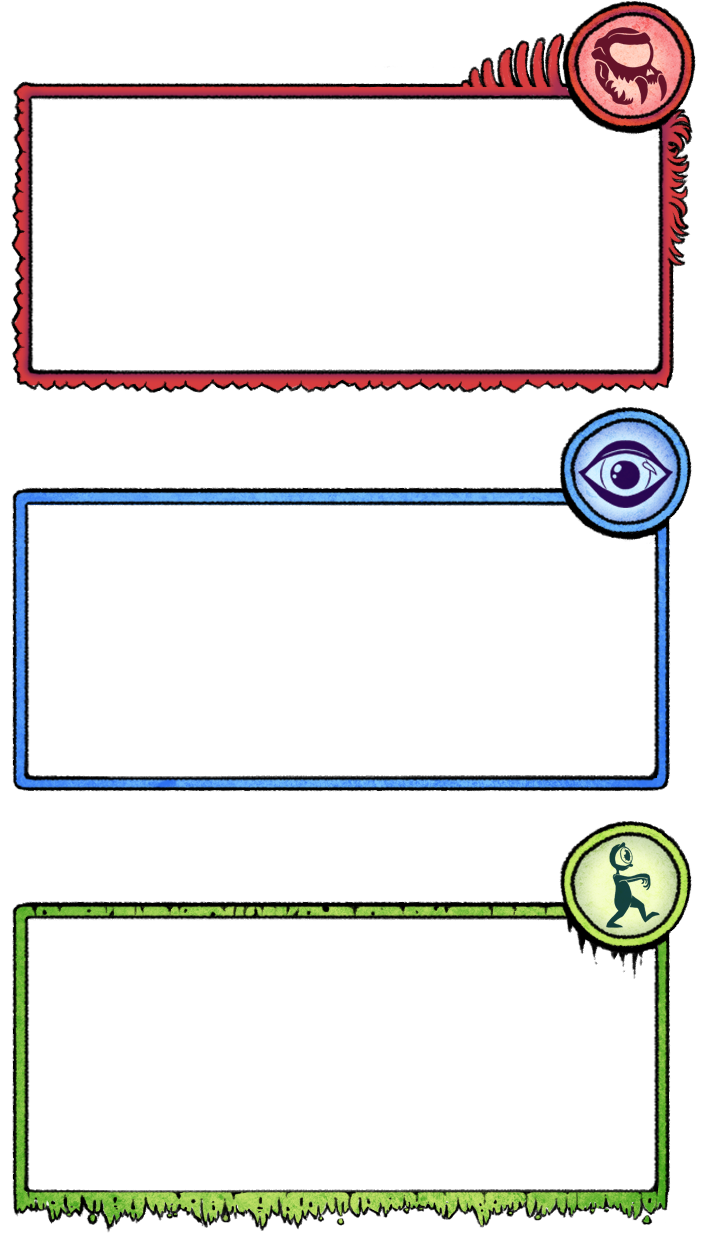
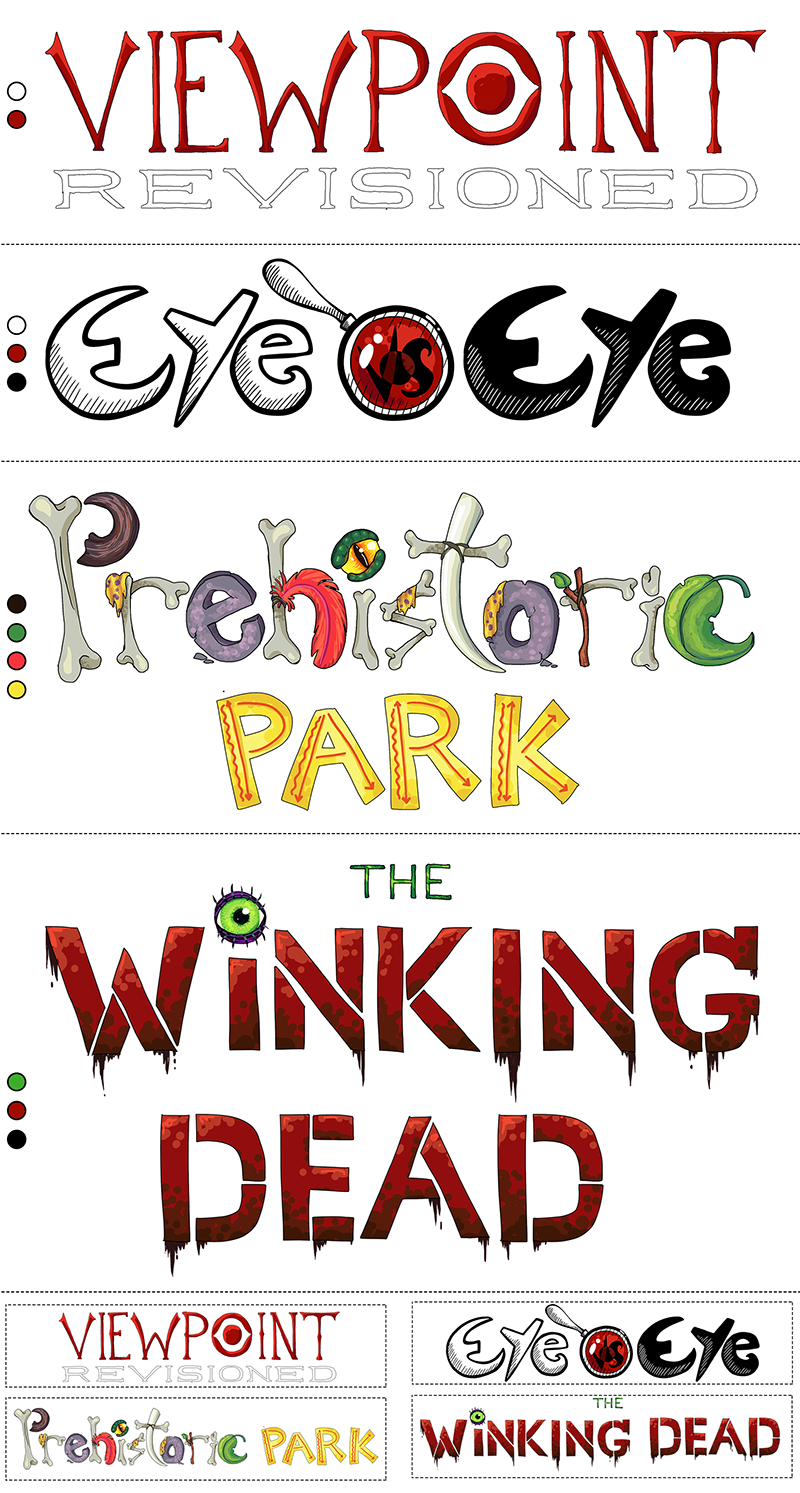
Responsibilities include using the existing illustrations as inspiration for developing and managing all branding assets for the series, including icons, logos, font pairings, prepress compilation and layout, and print-ready export of all materials.
Website: www.viewniverse.fun
Viewpoint is a series of card games developed by Australian-based 93 Made games.
Responsibilities include using the existing illustrations as inspiration for developing and managing all branding assets for the series, including icons, logos, font pairings, prepress compilation and layout, and print-ready export of all materials.
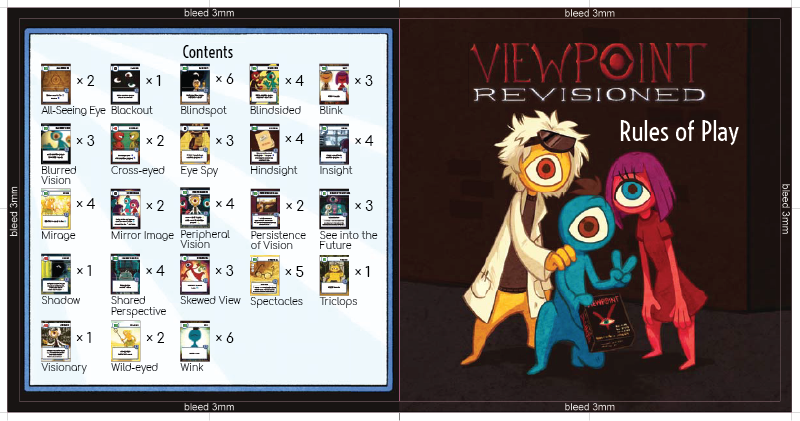
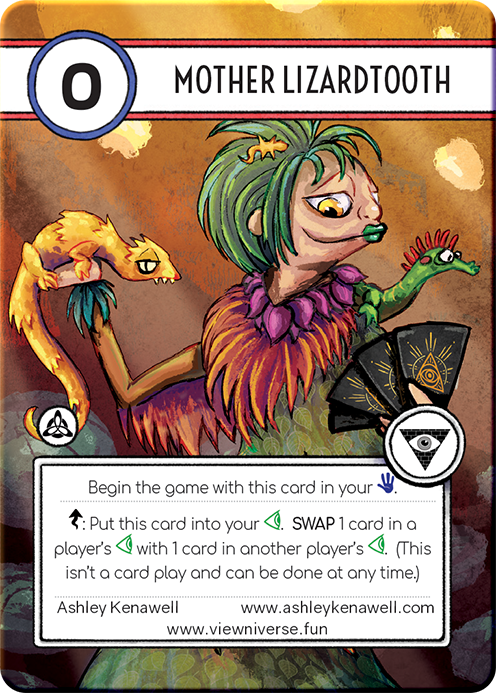
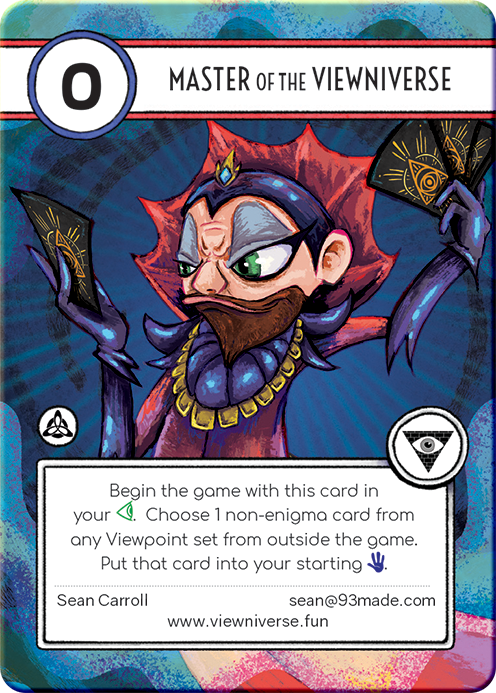
Note: The below cards were illustrated by me as brand/business cards (whereas the illustrations on the cards above were done by another artist)

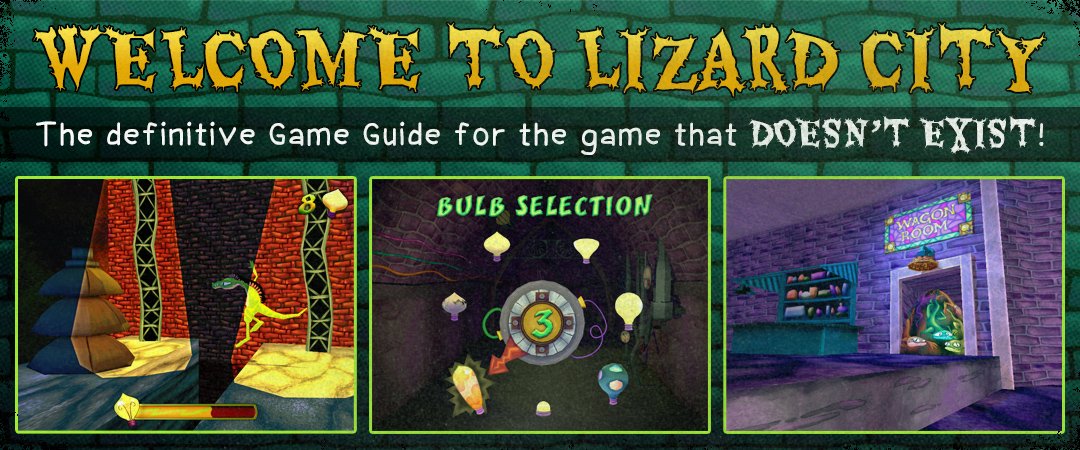
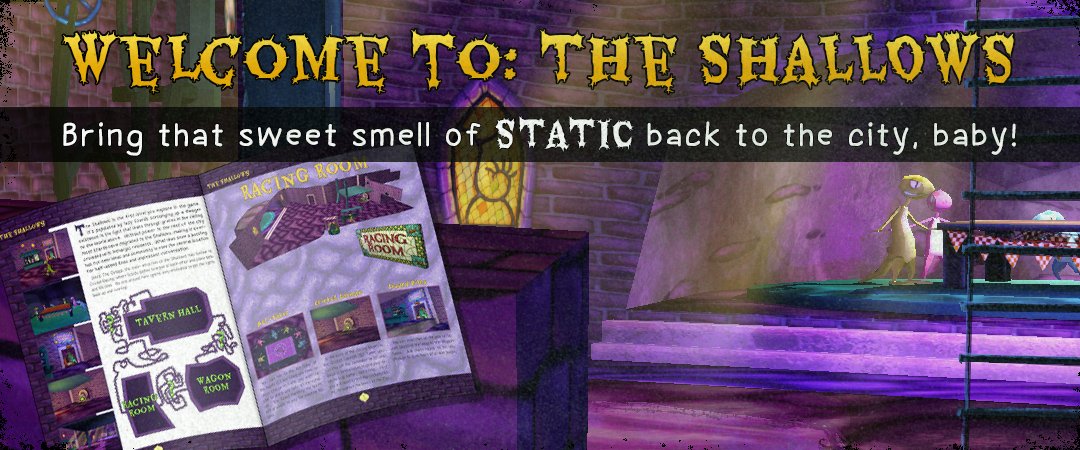
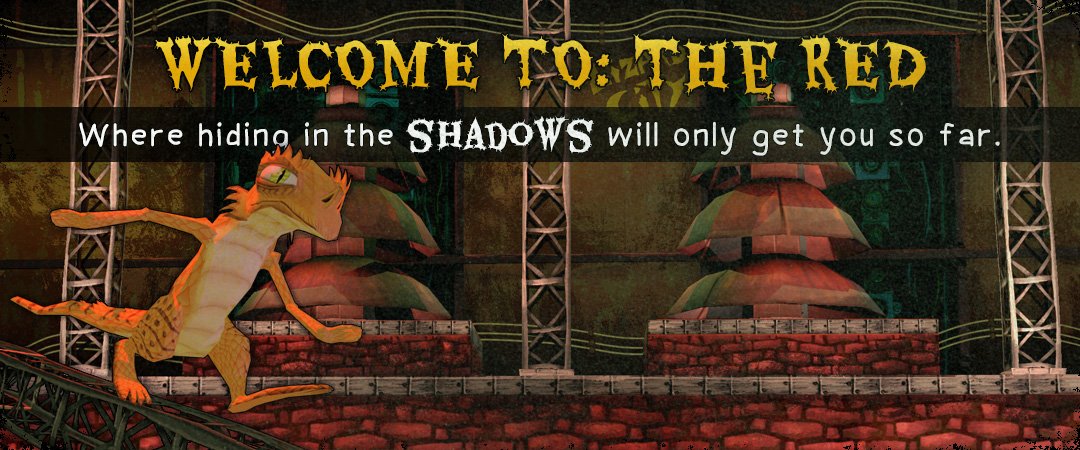
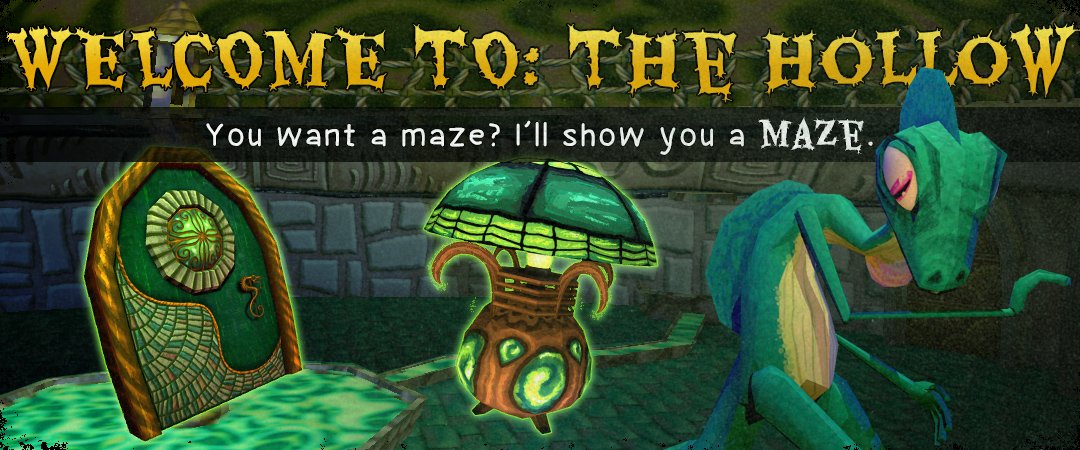
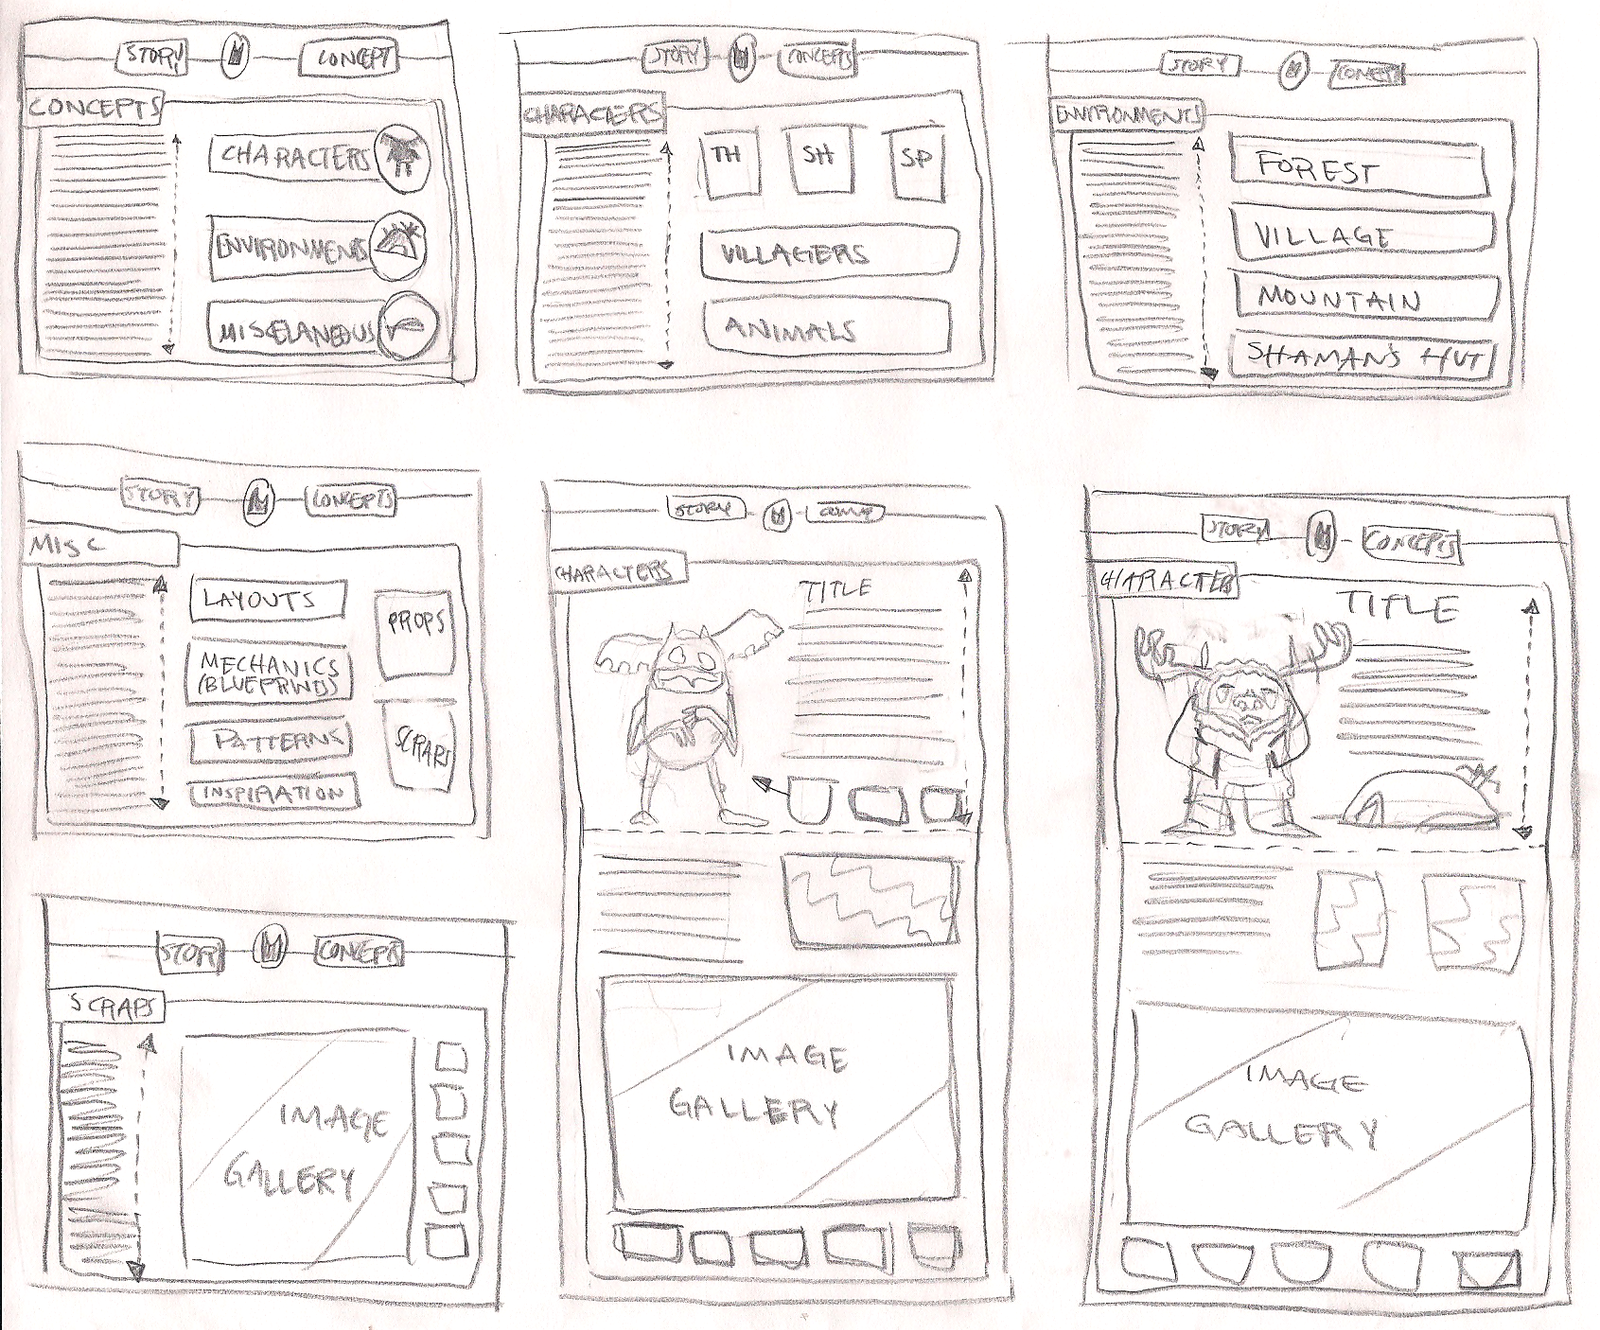
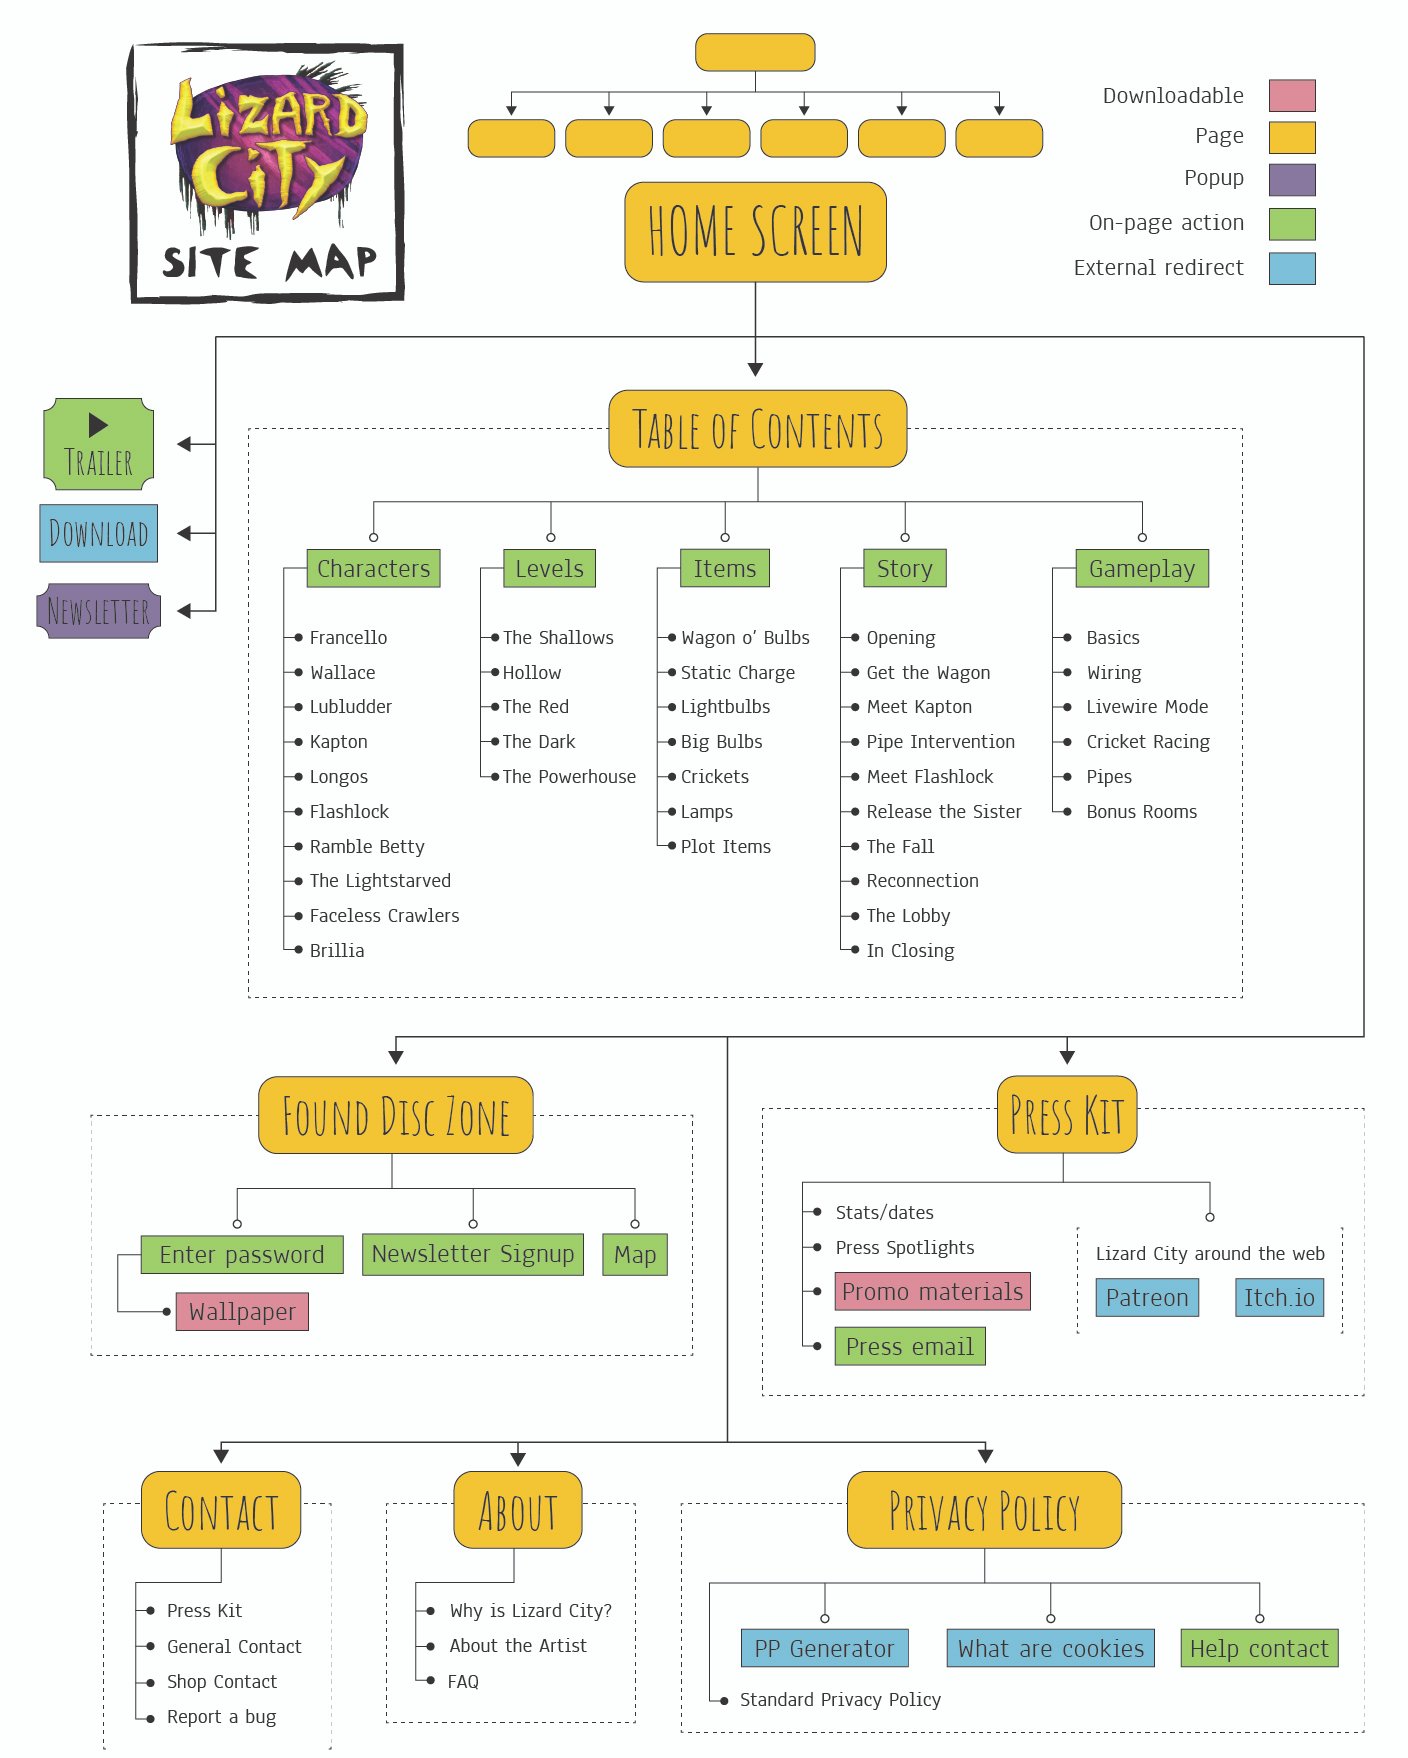
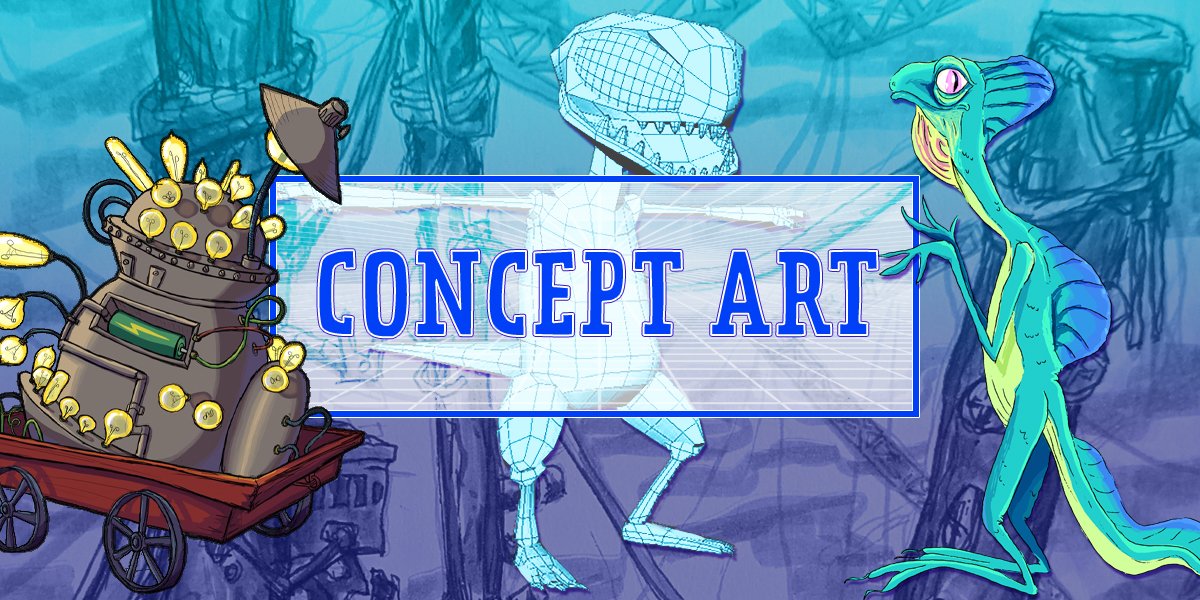
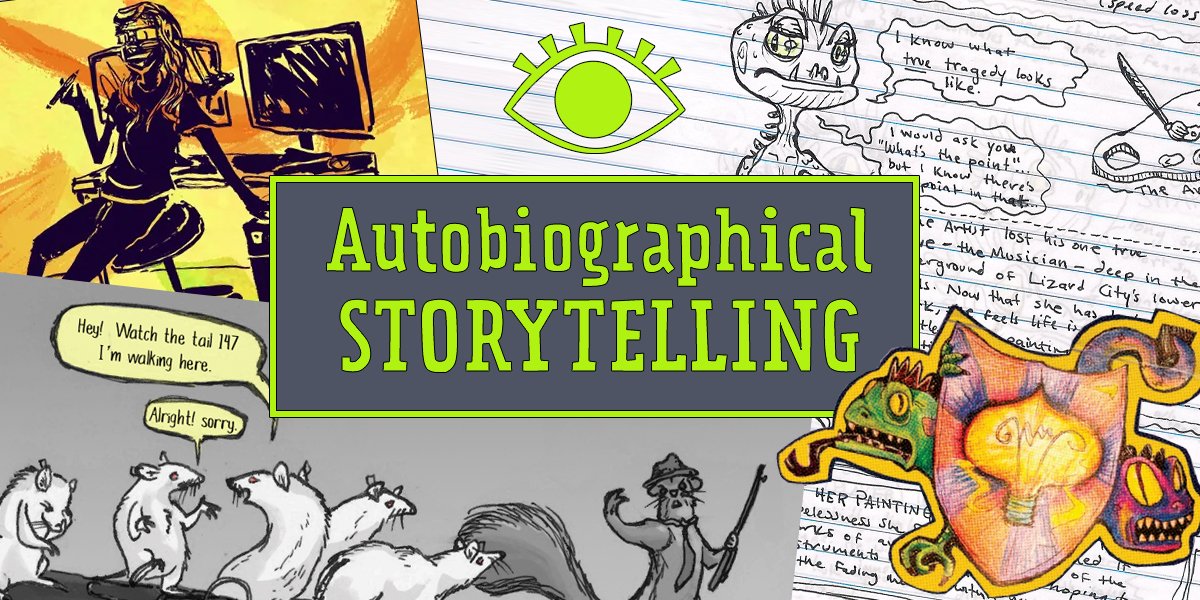
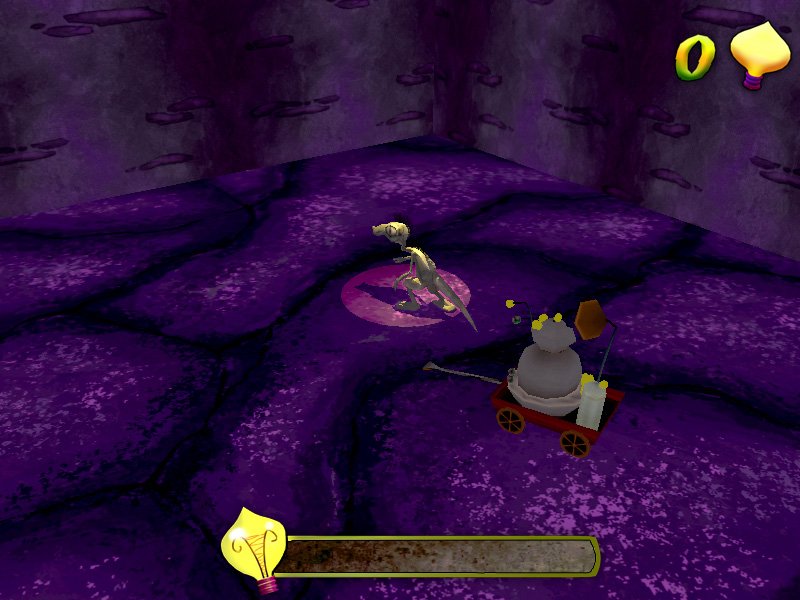
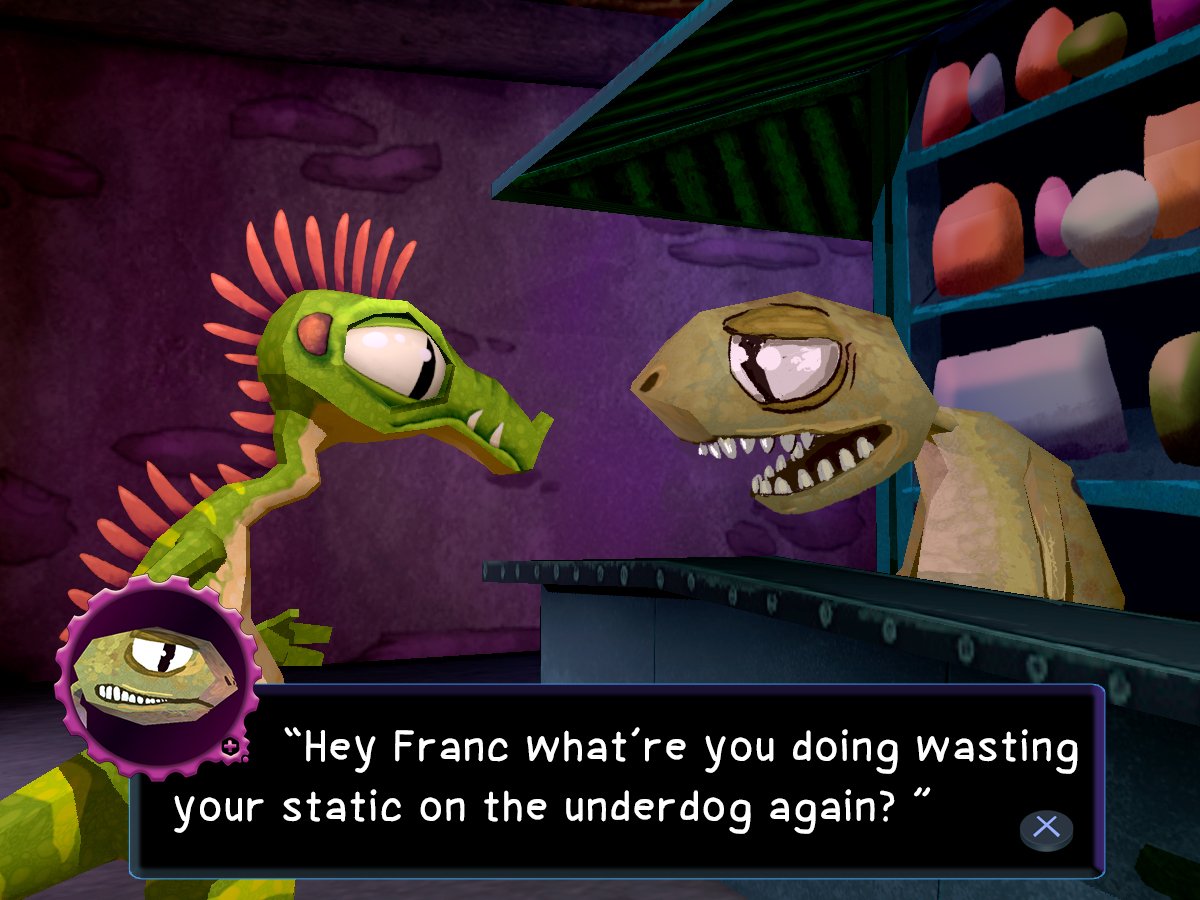
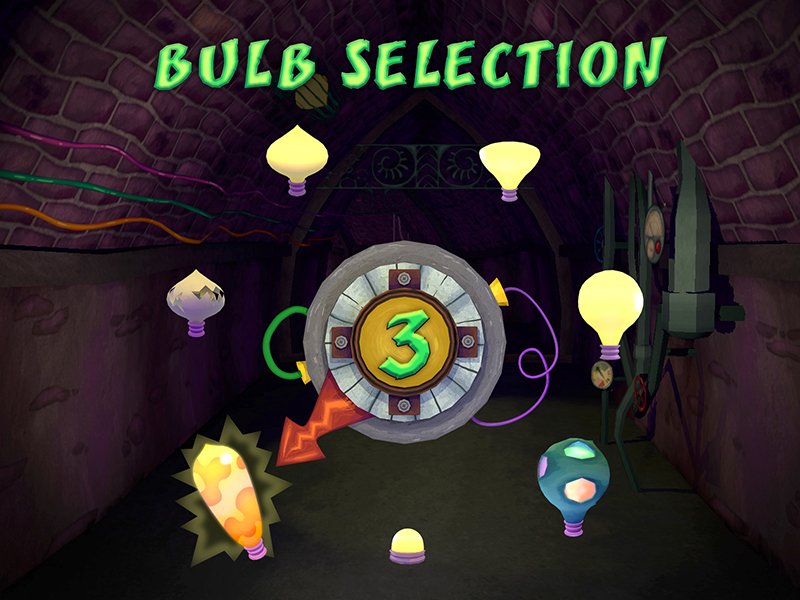
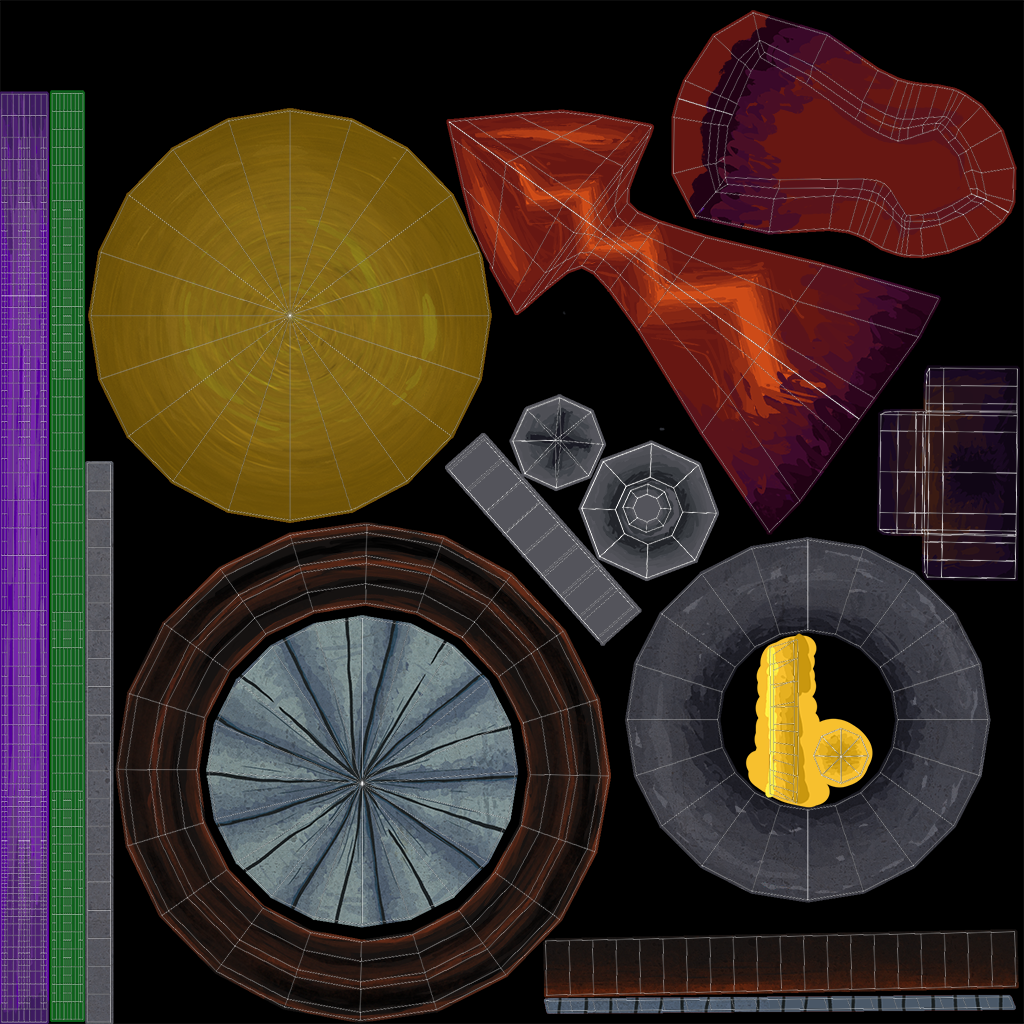
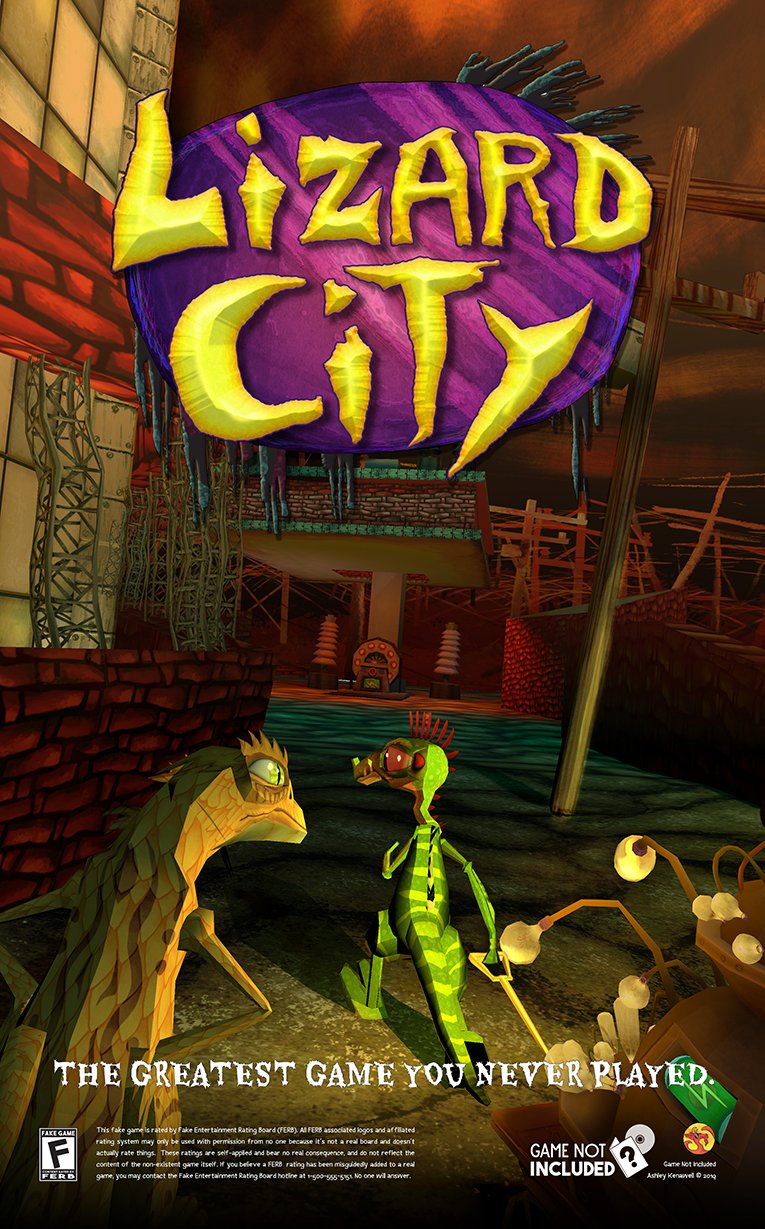
Lizard City is a mixed media retro-style adventure. This is a personal project created entirely by me. Hopefully it gives you a sense of the style and personality I bring to my work. You can learn more about Lizard City at www.lizardcity.net.


Wireframes and Documentation
Emotion Web Wireframe


Purpose:
This project is designed to be an exploratory tool for describing emotions. The user discovers related emotions by clicking on them to spawn a new layer of related words.
Like an interactive thesaurus for feelings.
Inspirations:
I was inspired by word web data visualization, similar to tools like Obsidian’s Graph functionality.
Documentation:
The text outlines the movement of each object on screen as specifically as possible, using the size of the canvas as a reference.
My goal was to create a guide from which the project can be recreated using code.
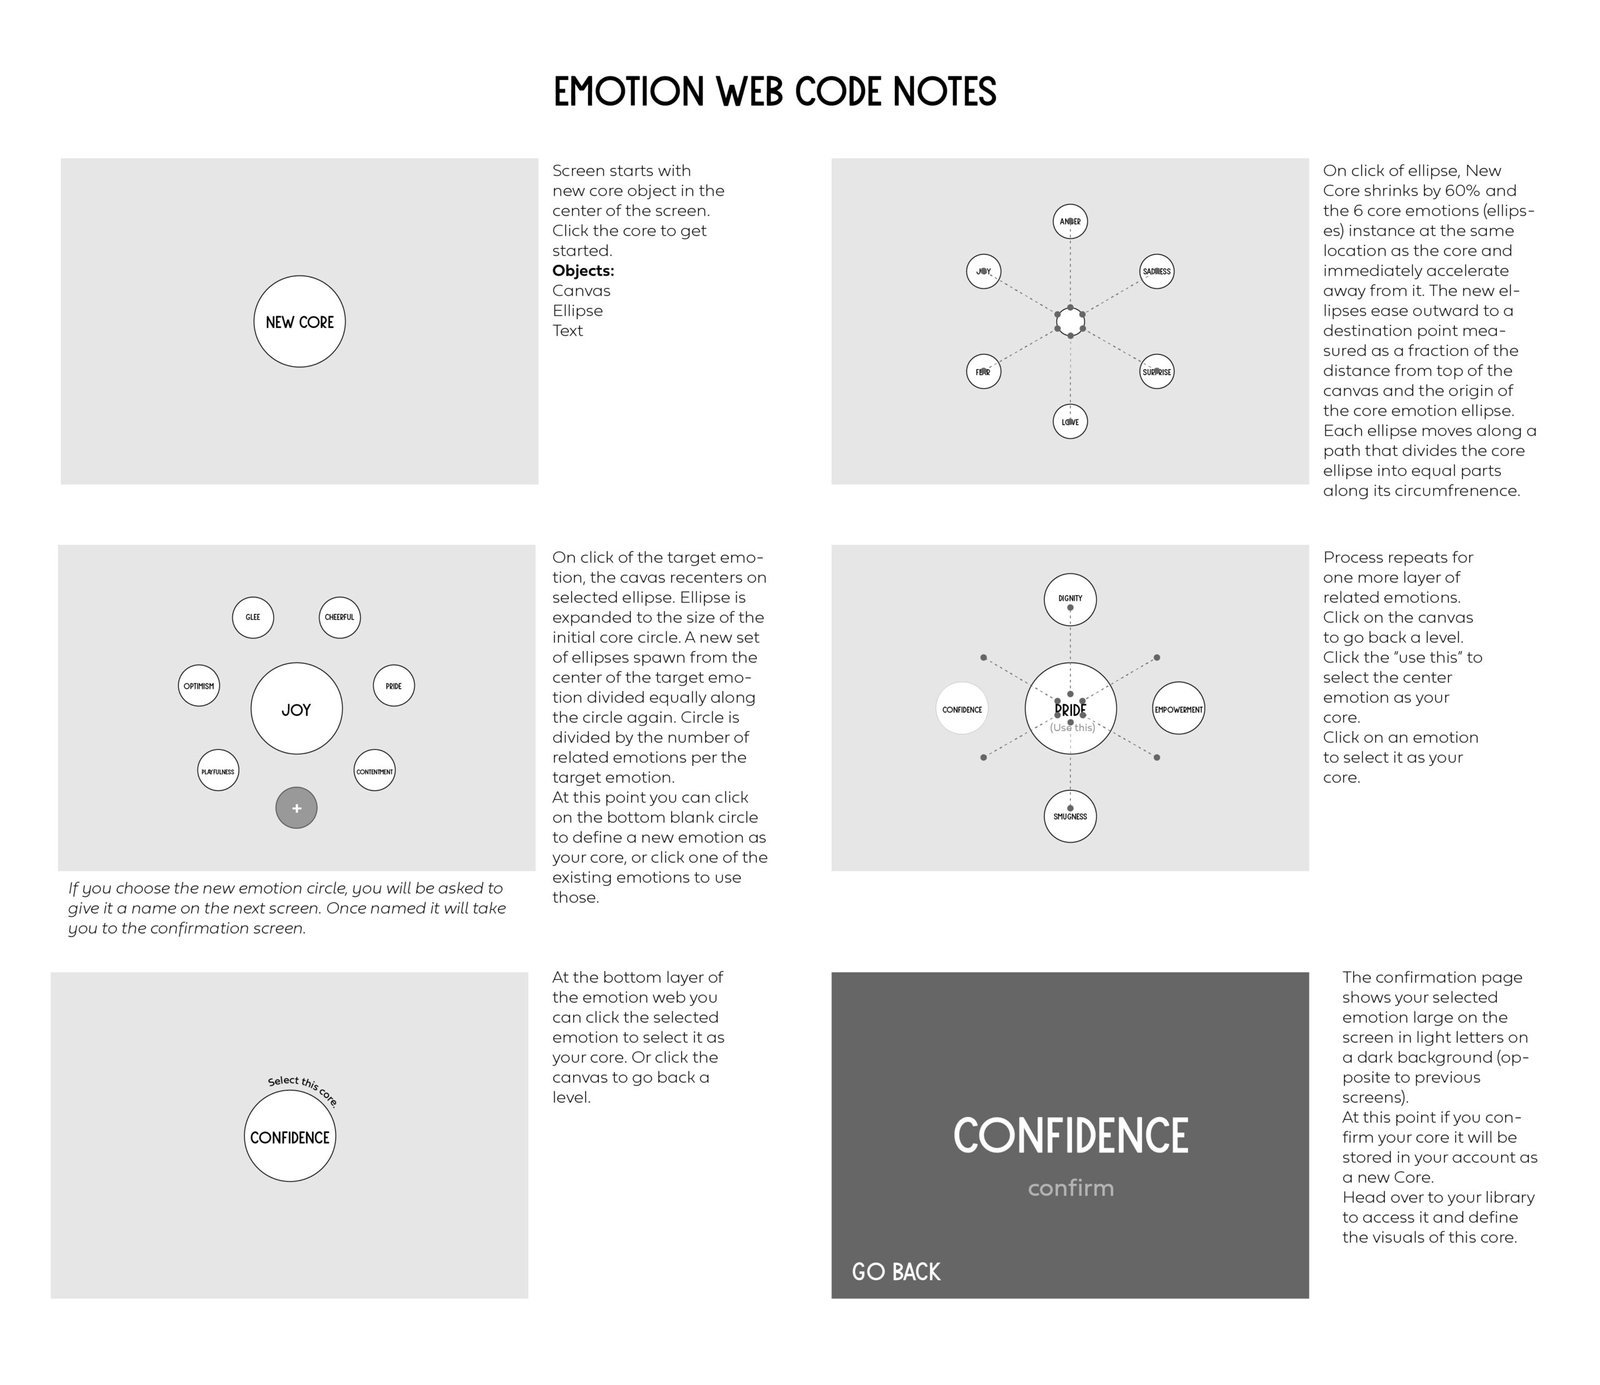
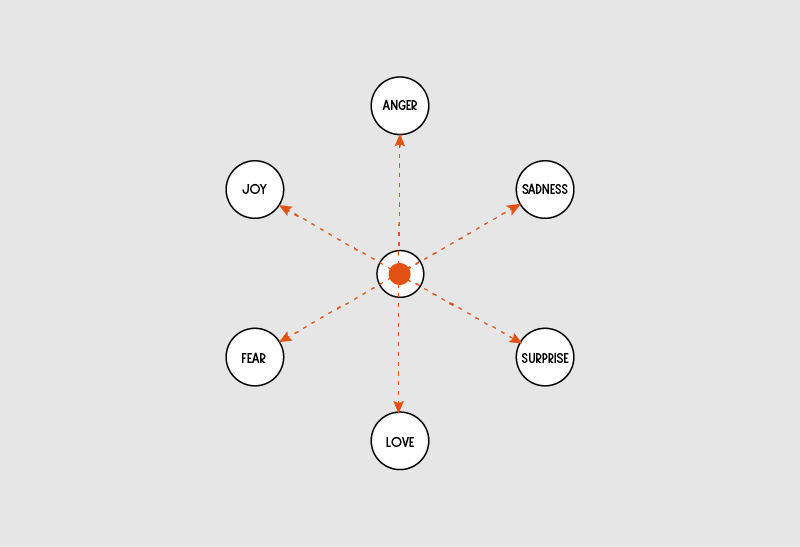
Screen starts with new core object in the center of the screen. Click the core to get started.
On click of ellipse, New Core shrinks by 60% and the 6 core emotions (ellipses) instance at the same location as the core and immediately accelerate away from it. The new ellipses ease outward to a destination point measured as a fraction of the distance from top of the canvas and the origin of the core emotion ellipse.
Each ellipse moves along a path that divides the core ellipse into equal parts along its circumference.
Each ellipse moves along a path that divides the core ellipse into equal parts along its circumference.
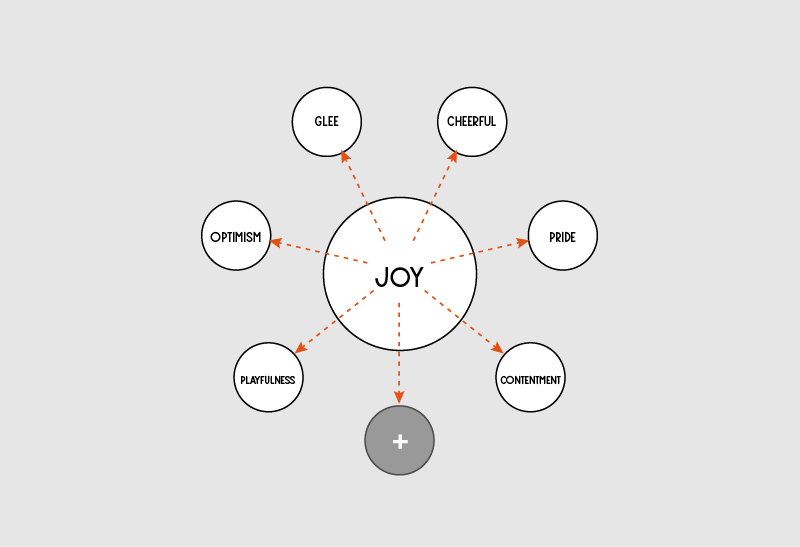
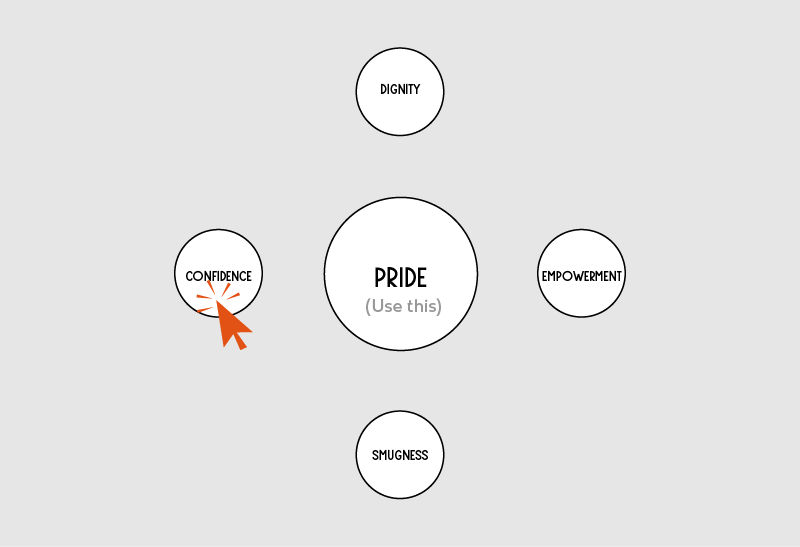
Next click on the emotion that most closely matches what you want to represent.
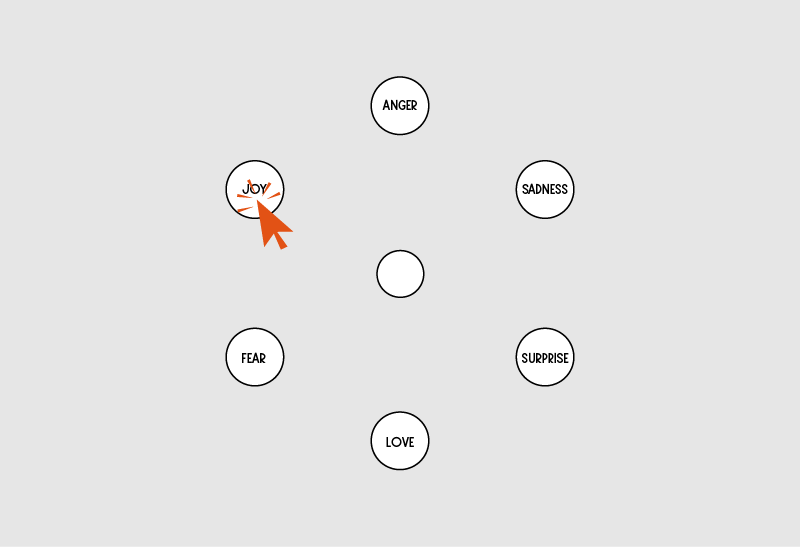
On click of the target emotion, the canvas re-centers on selected ellipse. Ellipse is expanded to the size of the initial core circle. A new set of ellipses spawn from the center of the target emotion divided equally along the circle again. Circle is divided by the number of related emotions per the target emotion.
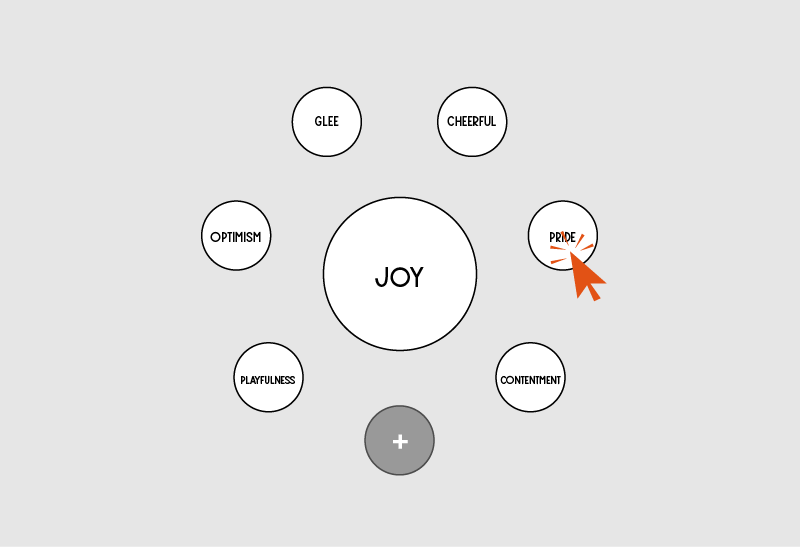
At this point you can click on the bottom blank circle to define a new emotion as your core, or click one of the existing emotions to use those.
Process repeats for one more layer of related emotions.
• Click on the canvas to go back a level.
• Click the “use this” to select the center emotion as your core.
• Click on an emotion to select it as your core.
• Click on the canvas to go back a level.
• Click the “use this” to select the center emotion as your core.
• Click on an emotion to select it as your core.
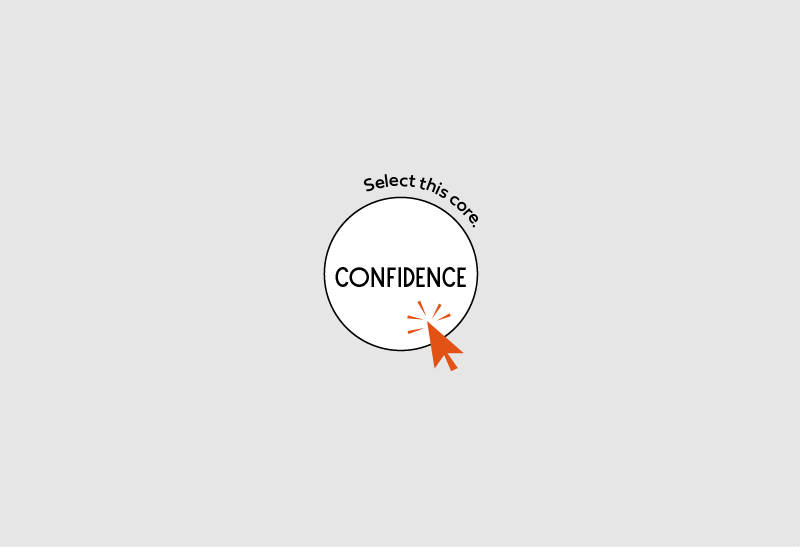
At the bottom layer of the emotion web you can click the selected emotion to select it as your core. Or click the canvas to go back a level.
The confirmation page shows your selected emotion large on the screen in light letters on a dark background (opposite to previous screens). At this point if you confirm your core it will be stored in your account as a new Core.
Head over to your library to access it and define the visuals of this core.
Head over to your library to access it and define the visuals of this core.
1
Screen starts with new core object in the center of the screen. Click the core to get started.
2
On click of ellipse, New Core shrinks by 60% and the 6 core emotions (ellipses) instance at the same location as the core and immediately accelerate away from it. The new ellipses ease outward to a destination point measured as a fraction of the distance from top of the canvas and the origin of the core emotion ellipse.
Each ellipse moves along a path that divides the core ellipse into equal parts along its circumference.
Each ellipse moves along a path that divides the core ellipse into equal parts along its circumference.
3
Next click on the emotion that most closely matches what you want to represent.
4
On click of the target emotion, the canvas re-centers on selected ellipse. Ellipse is expanded to the size of the initial core circle. A new set of ellipses spawn from the center of the target emotion divided equally along the circle again. Circle is divided by the number of related emotions per the target emotion.
5
At this point you can click on the bottom blank circle to define a new emotion as your core, or click one of the existing emotions to use those.
6
Process repeats for one more layer of related emotions.
• Click on the canvas to go back a level.
• Click the “use this” to select the center emotion as your core.
• Click on an emotion to select it as your core.
• Click on the canvas to go back a level.
• Click the “use this” to select the center emotion as your core.
• Click on an emotion to select it as your core.
7
At the bottom layer of the emotion web you can click the selected emotion to select it as your core. Or click the canvas to go back a level.
8
The confirmation page shows your selected emotion large on the screen in light letters on a dark background (opposite to previous screens). At this point if you confirm your core it will be stored in your account as a new Core.
Head over to your library to access it and define the visuals of this core.
Head over to your library to access it and define the visuals of this core.
Emotion Web Wireframe
Purpose:
This project is designed to be an exploratory tool for describing emotions. The user discovers related emotions by clicking on them to spawn a new layer of related words.
Like an interactive thesaurus for feelings.
Inspirations:
I was inspired by word web data visualization, similar to tools like Obsidian’s Graph functionality.
Documentation:
The text outlines the movement of each object on screen as specifically as possible, using the size of the canvas as a reference.
My goal was to create a guide from which the project can be recreated using code.
This project is designed to be an exploratory tool for describing emotions. The user discovers related emotions by clicking on them to spawn a new layer of related words.
Like an interactive thesaurus for feelings.
Inspirations:
I was inspired by word web data visualization, similar to tools like Obsidian’s Graph functionality.
Documentation:
The text outlines the movement of each object on screen as specifically as possible, using the size of the canvas as a reference.
My goal was to create a guide from which the project can be recreated using code.
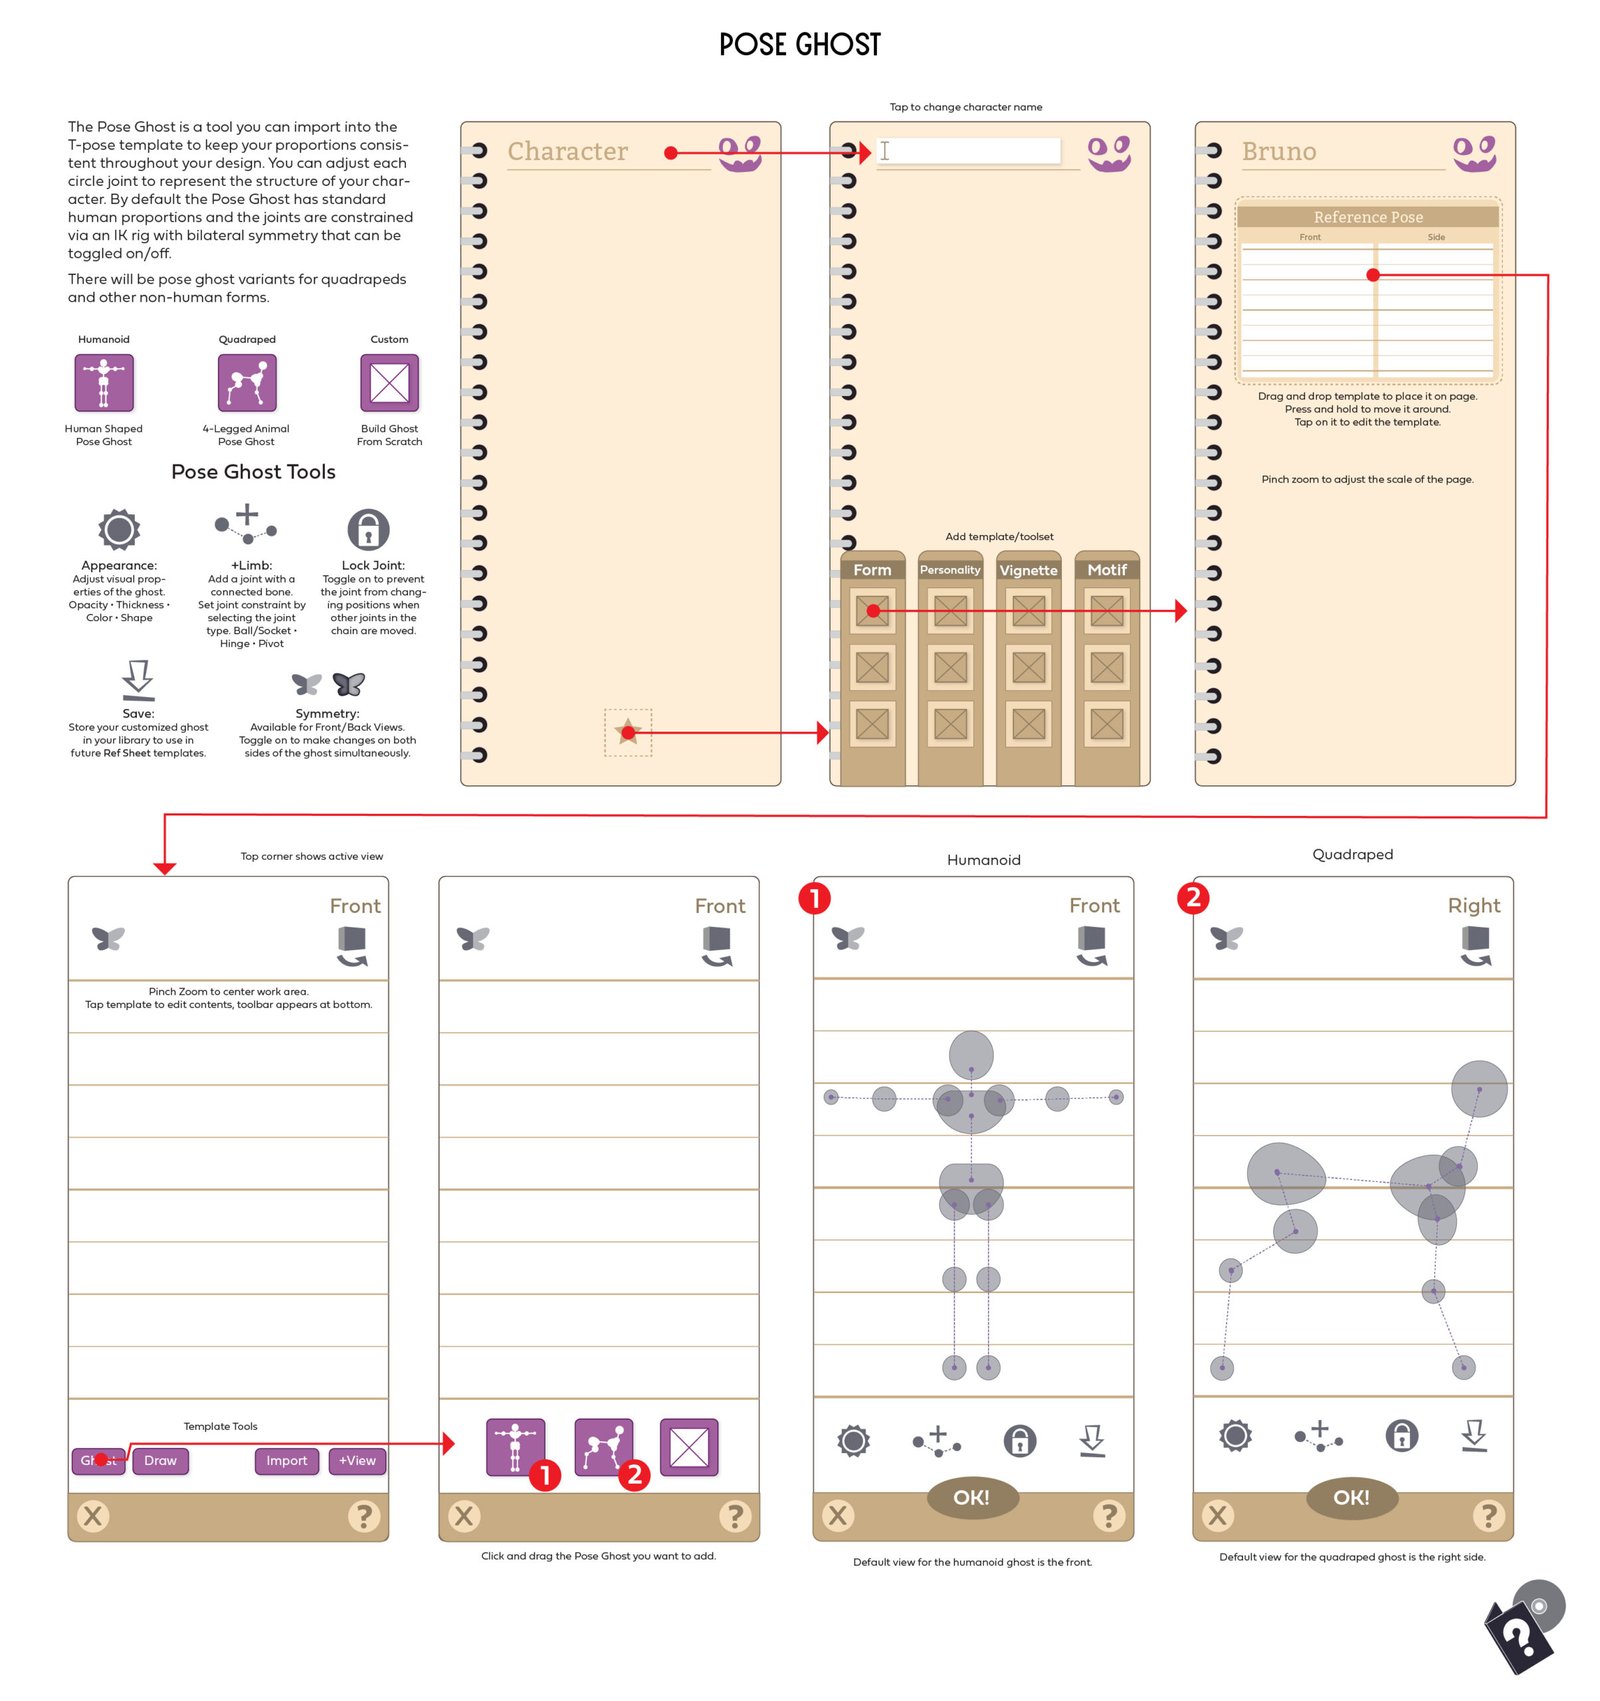
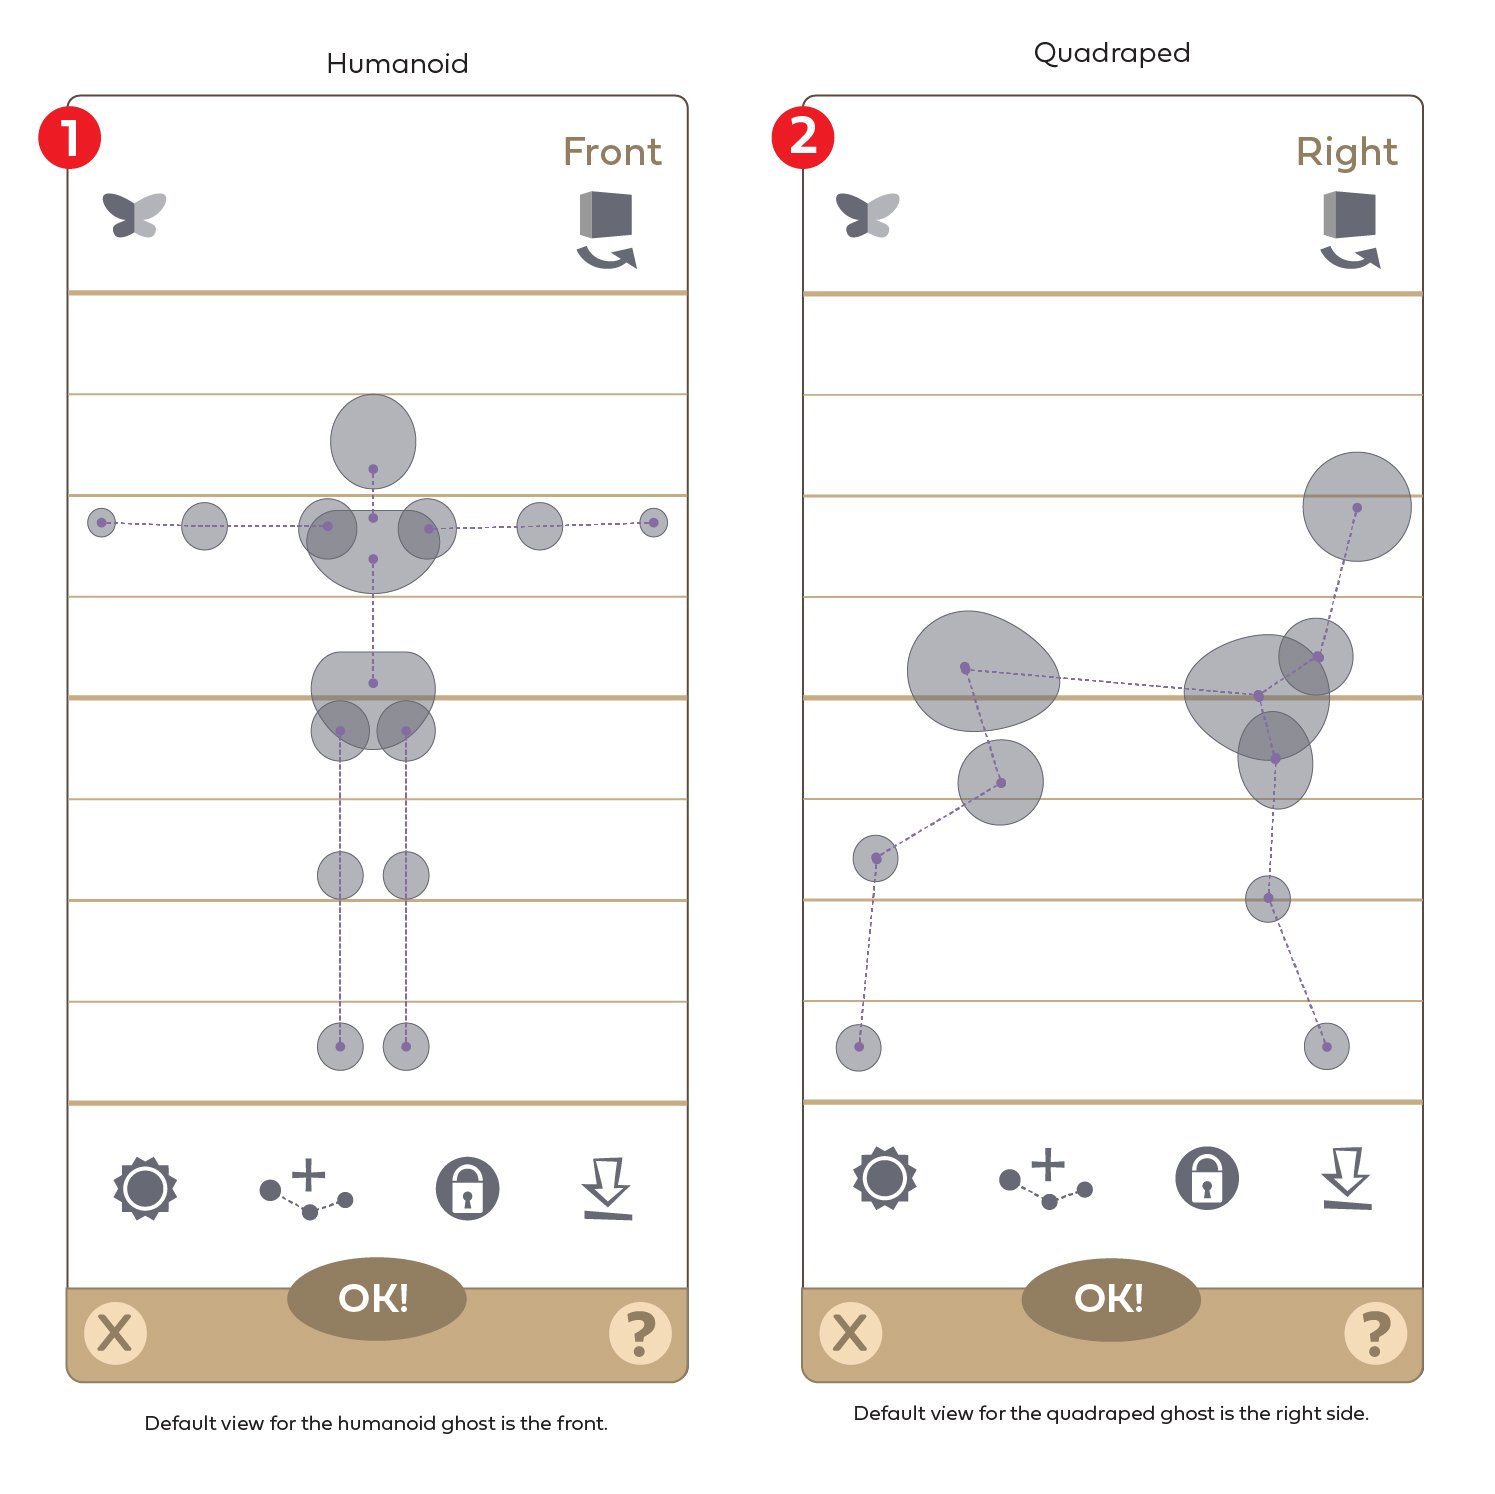
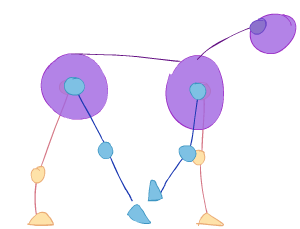
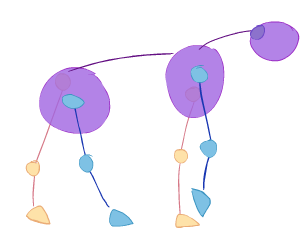
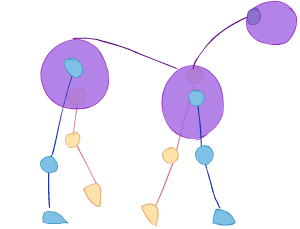
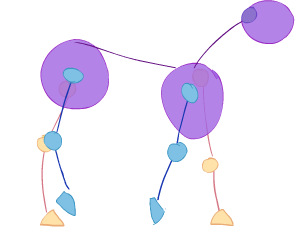
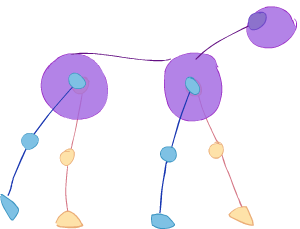
Pose Ghost Types
Humanoid
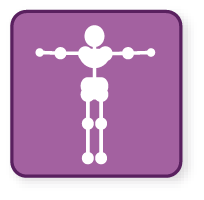
Human Shaped
Pose Ghost
Pose Ghost
Quadruped
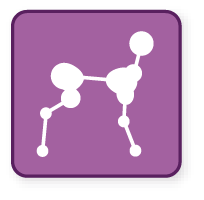
4-Legged Animal
Pose Ghost
Pose Ghost
Empty
Create a Pose
Ghost from Scratch.
Ghost from Scratch.
Button Functions
Appearance

Adjust visual properties of the ghost.
(Opacity, Thickness, Color)
(Opacity, Thickness, Color)
+Limb
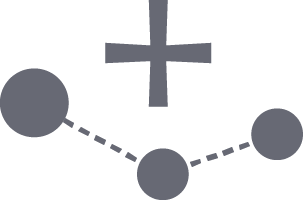
Add a joint with a connected bone.
(Ball, Hinge, Pivot)
(Ball, Hinge, Pivot)
Lock

Toggle on to prevent the joint from changing positions when other joints in the chain are moved.
Symmetry

Available for Front/Back Views. Toggle on to make changes on both sides of the ghost simultaneously.
Save

Store your customized ghost in your library to use in future Ref Sheet templates.
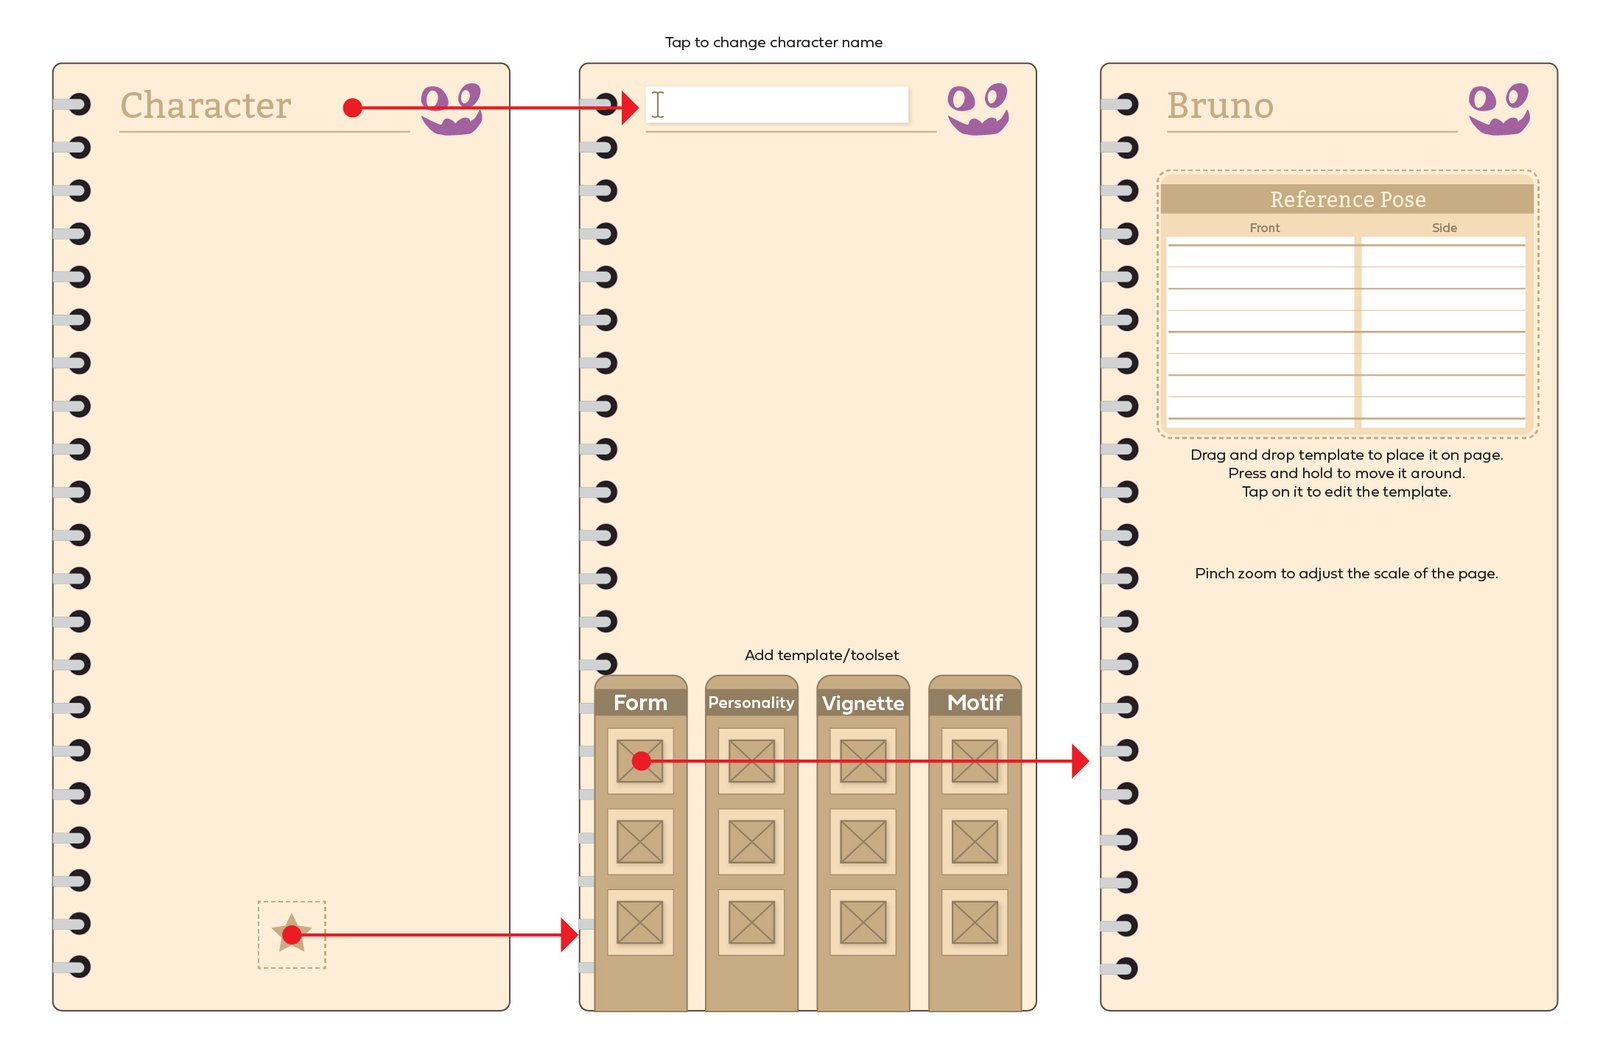
Pose Ghost Wireframe
Purpose:
This wireframe outlines the functionality of adding a “Pose Ghost” template block to a new Character page in a journal.
Inspirations:
I was aiming to make an interface reflective of a physical journal. Inspiration for the functionality and buttons come from 3D design software and drawing tools.
Documentation:
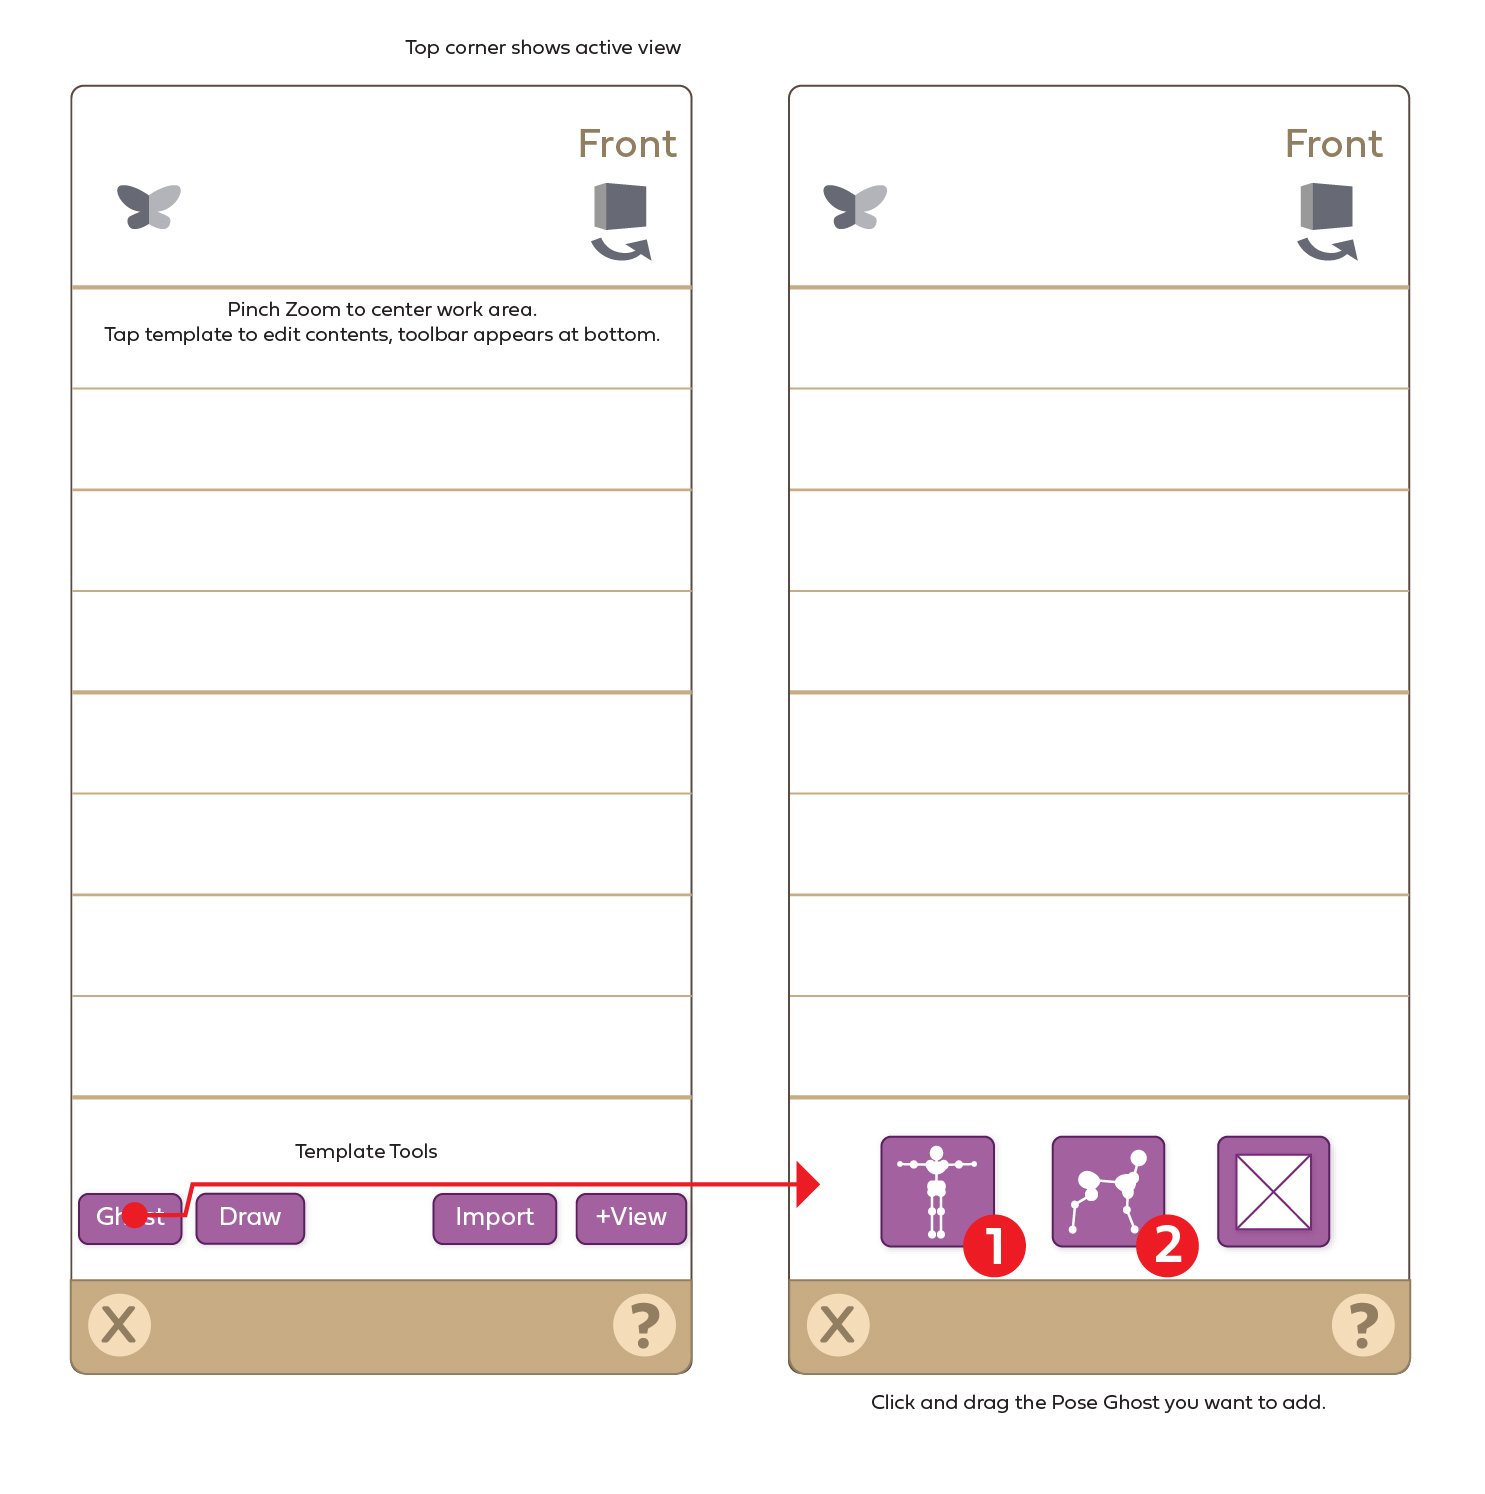
The red arrows indicate clickable paths for the user to take, showing the results of each click/tap on the following screen.
This wireframe outlines the functionality of adding a “Pose Ghost” template block to a new Character page in a journal.
Inspirations:
I was aiming to make an interface reflective of a physical journal. Inspiration for the functionality and buttons come from 3D design software and drawing tools.
Documentation:
The red arrows indicate clickable paths for the user to take, showing the results of each click/tap on the following screen.
Wireframe Sketchbook